Tomato and date chutney
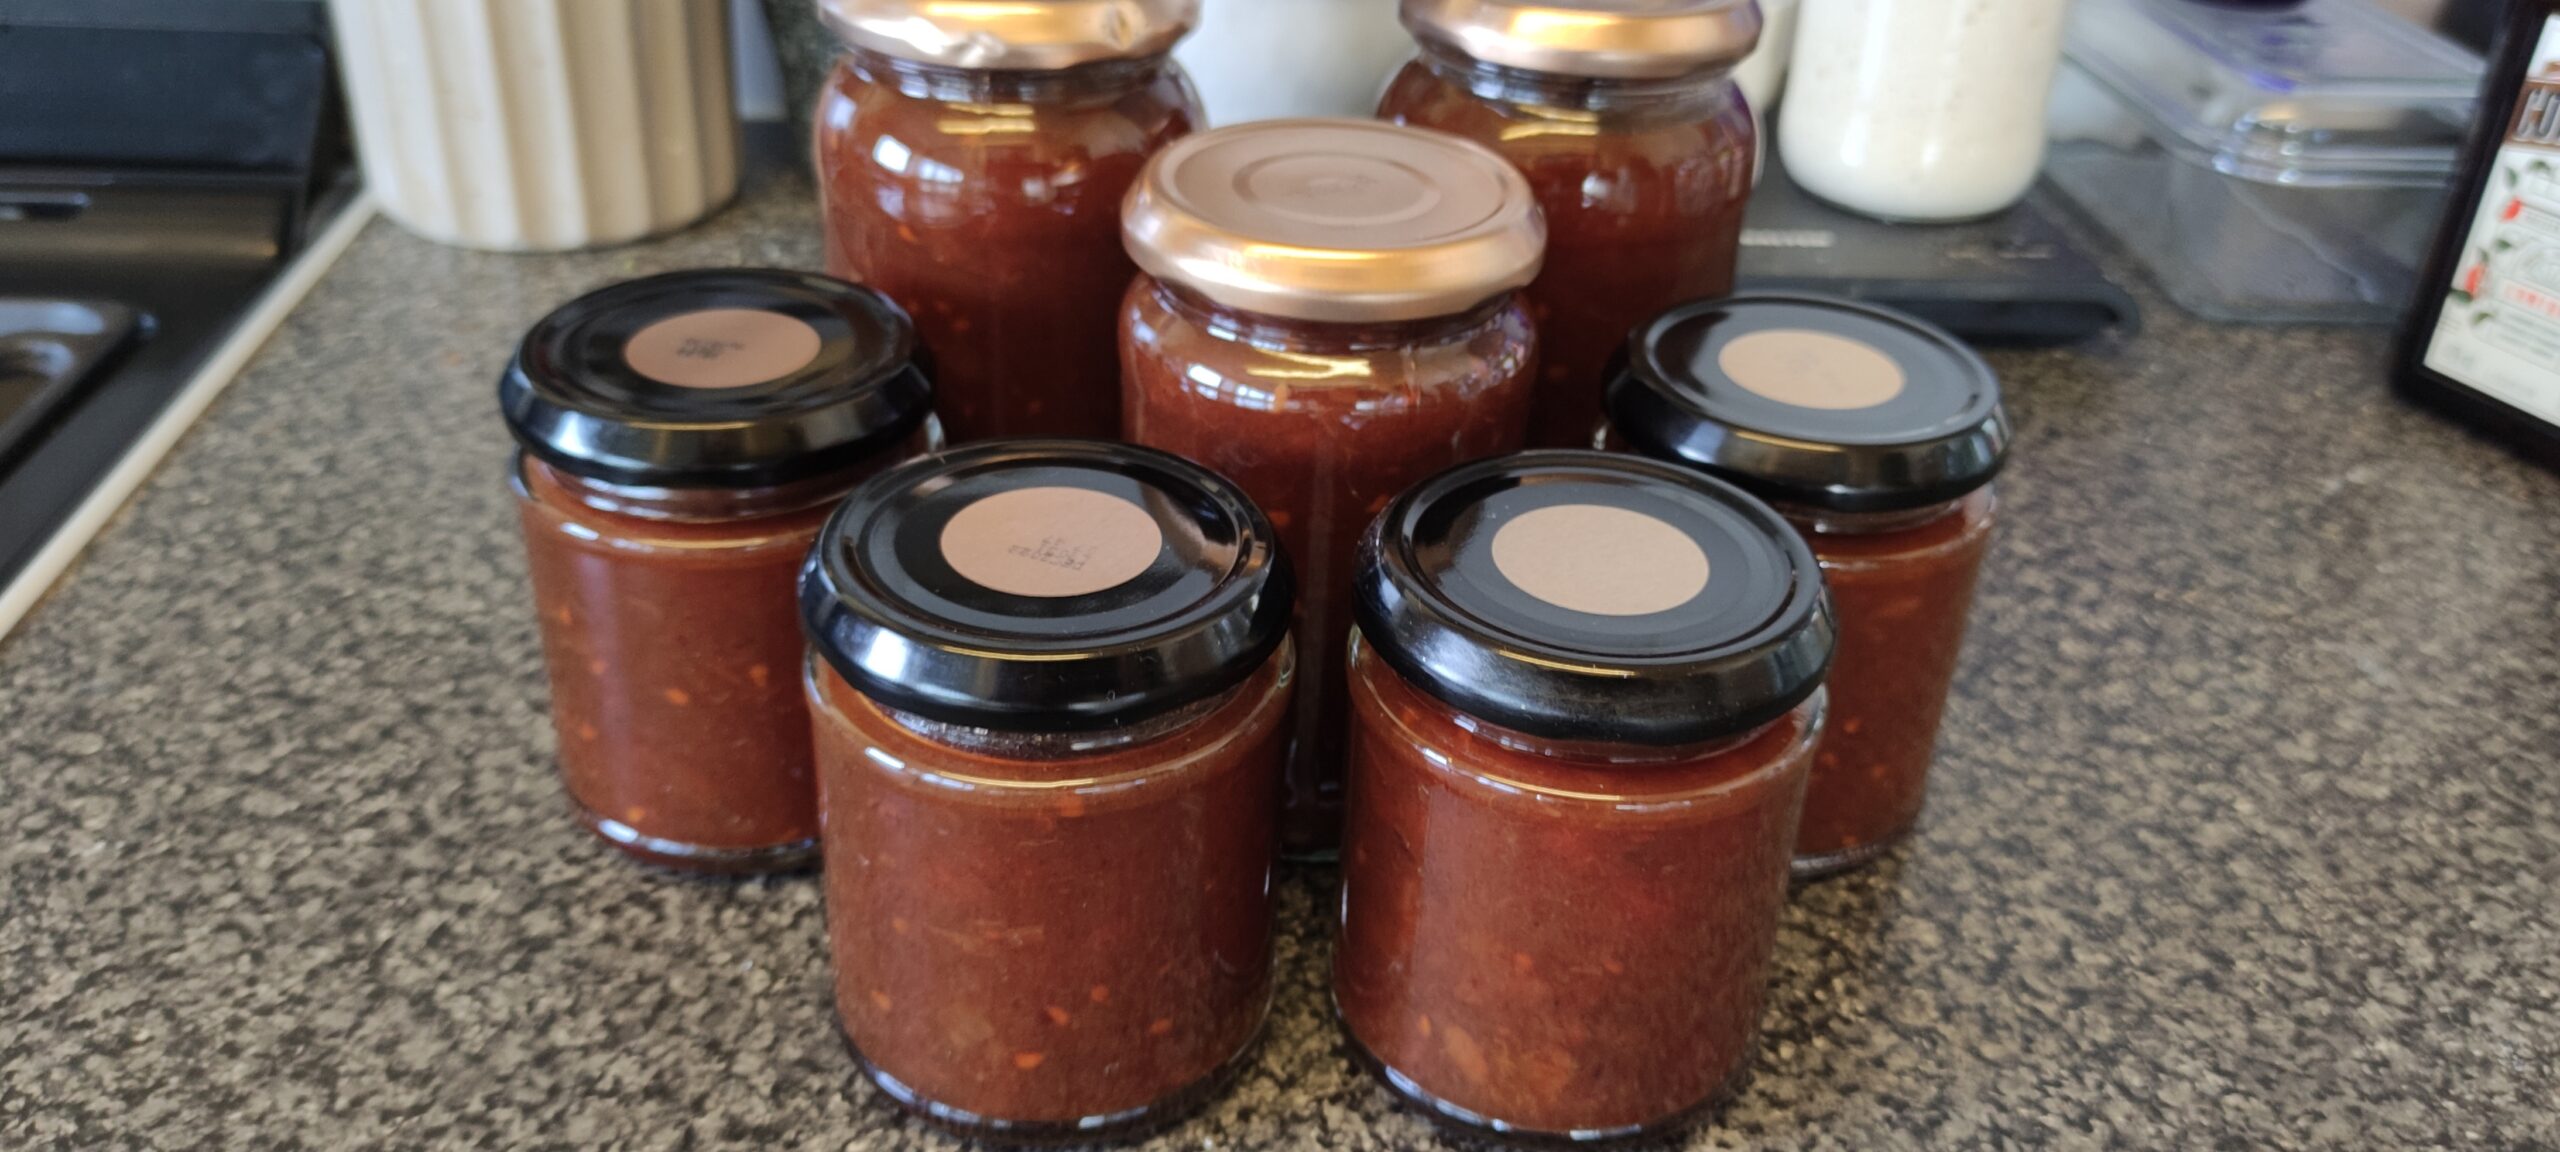
Many decades ago I used to grow beefsteak tomatoes on my narrow 8th floor balcony. The balcony faces east, so they didn't have a hope in hell of ripening. The reason I grew them year in and year out was to make a wonderful Green Tomato Chutney in my Prestige pressure cooker with a recipe I found in their cookbook, from which this one is adapted. With tomatoes now in season here in the UK (and at their cheapest), this is the perfect time to make this chutney using ripe ones.
The secret to a relaxed and care-free chutney-making session is good prep. The day before you plan to make it, hunt out your jars and lids (check and separate which ones fit which) and give them a thorough wash. Regular-sized jam jars are best, and it's always prudent to prepare more than you'll need - plus a few small ones for good measure. Finally, check that you have all the ingredients you'll need.
I'll be honest, making chutney is a lot of work. But this lot will last me through the year, and it's so much nicer than anything you will find in a supermarket.
Makes about 6 regular jam jars. Will last about a year if stored in a cool, dark cupboard.
Ingredients
1.5kg tomatoes (about 16 medium)
100g onion (1 small-to-medium onion)
250g stoned dates (or 280g dates with stones)
20g root ginger (a piece roughly half the size of your thumb)
400g Granny Smith apples (about 4 small-to-medium)
1 teaspoon salt
1 pint malt vinegar (568mls)
200g sugar
Learn how to sterilize glass jars here:
Method
1.
Skin your tomatoes. Score a cross into the skin on the base and another on the top, place in a bowl and cover with boiling water until the skin starts to peel away (about 1 minute). Remove the tomato and refresh it in cold water before peeling away the skin.
I used a bigger bowl and skinned 4 at a time.
2.
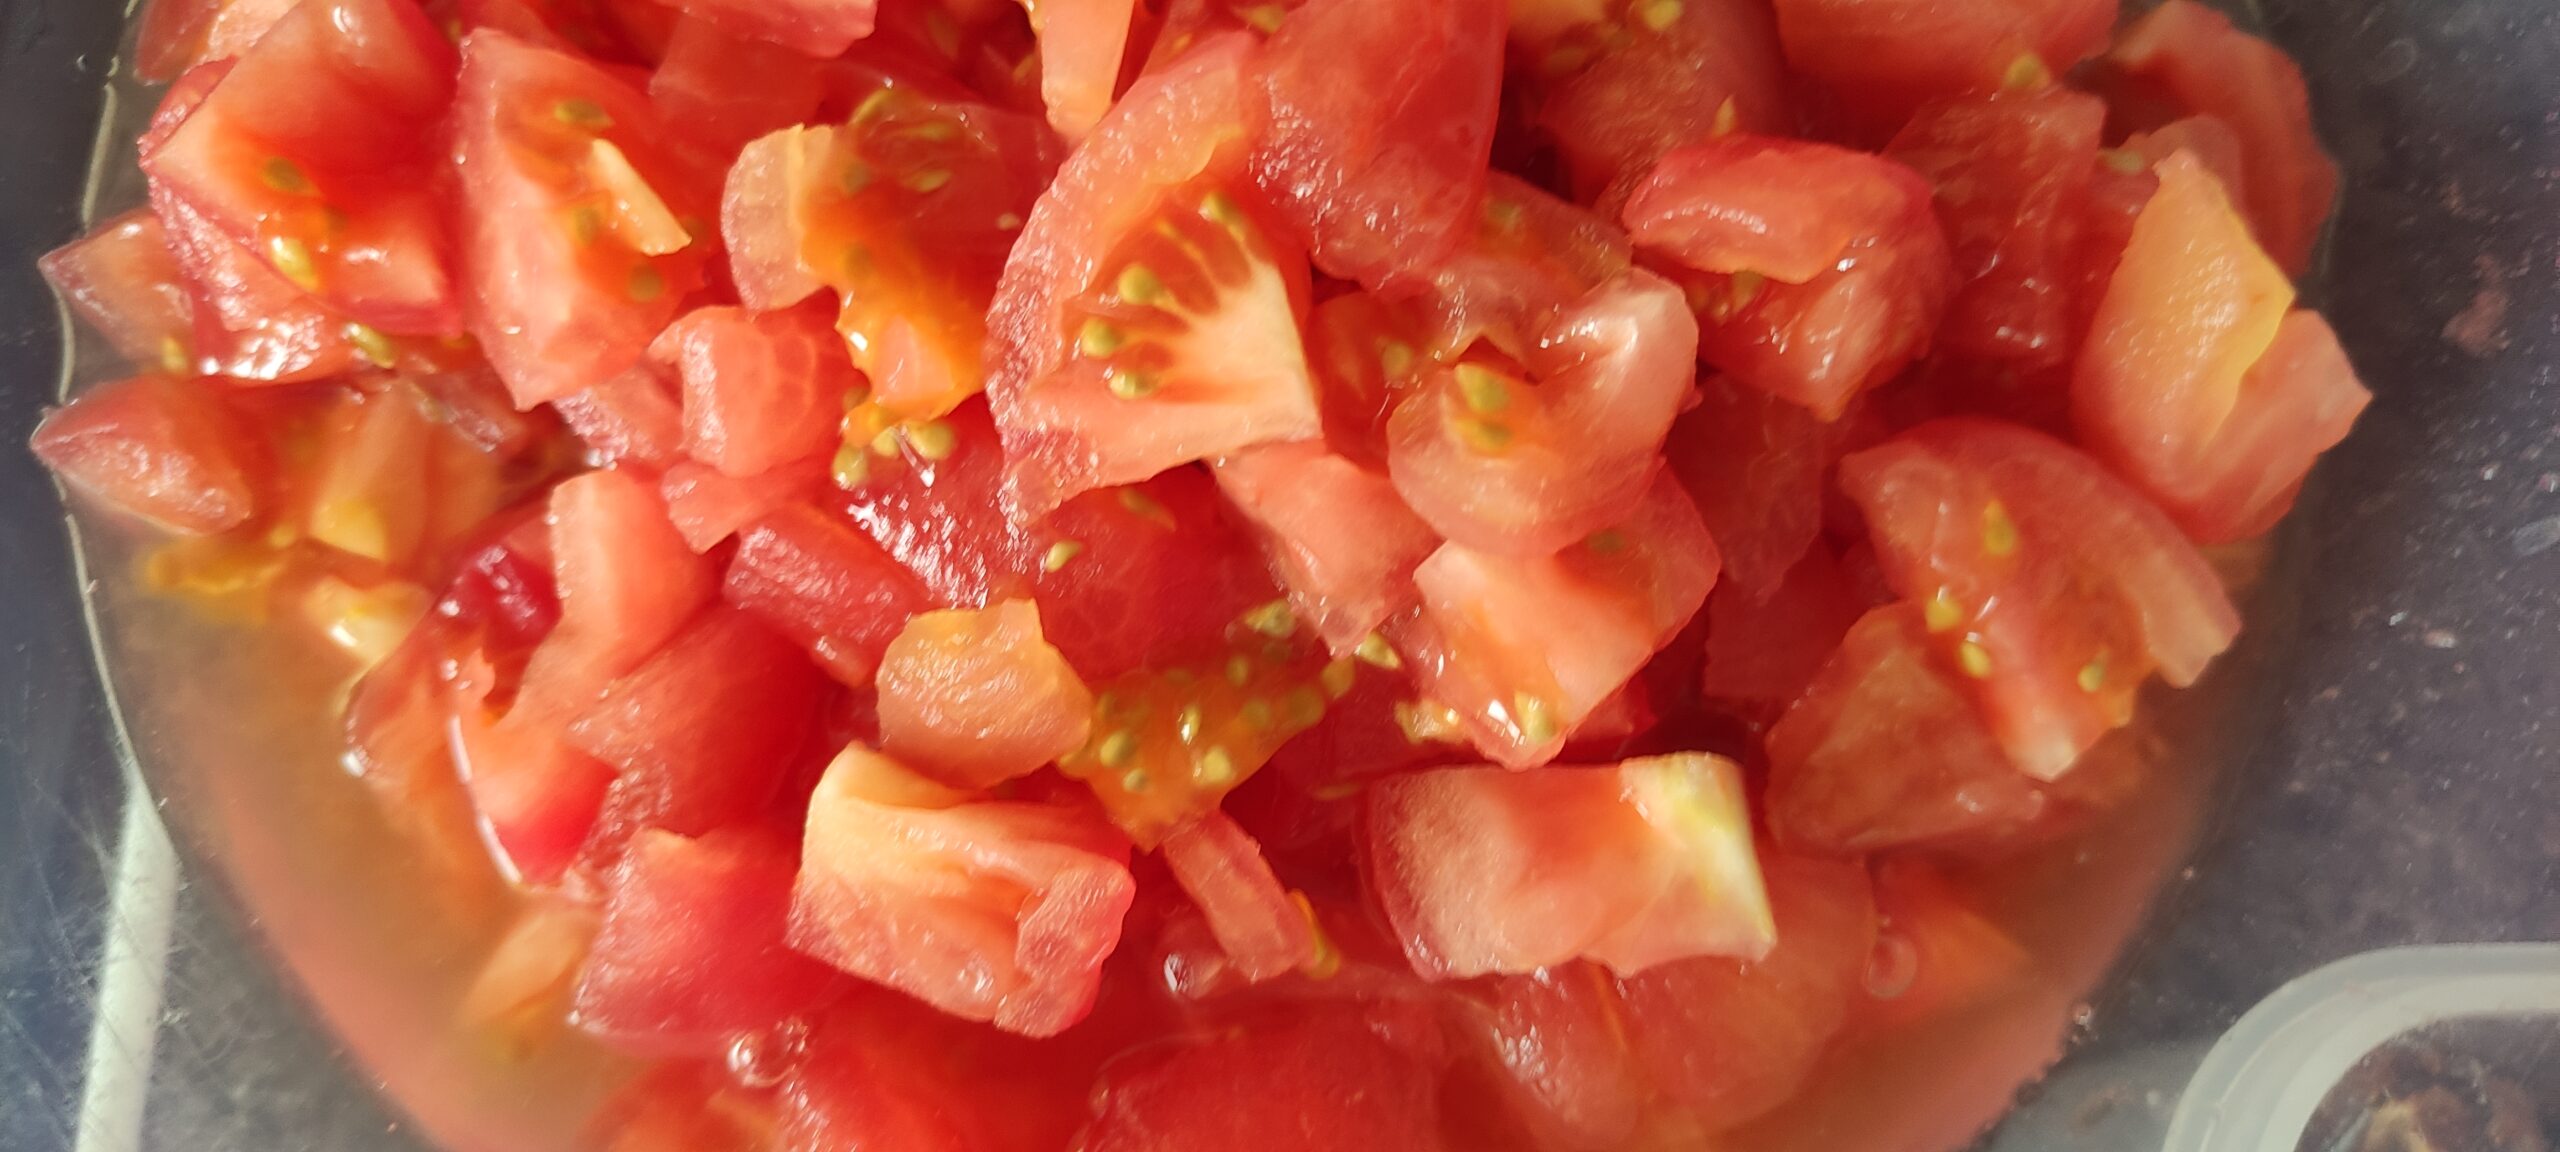
Chop the tomatoes into dice, discarding the bit that attached to the stem.
3.
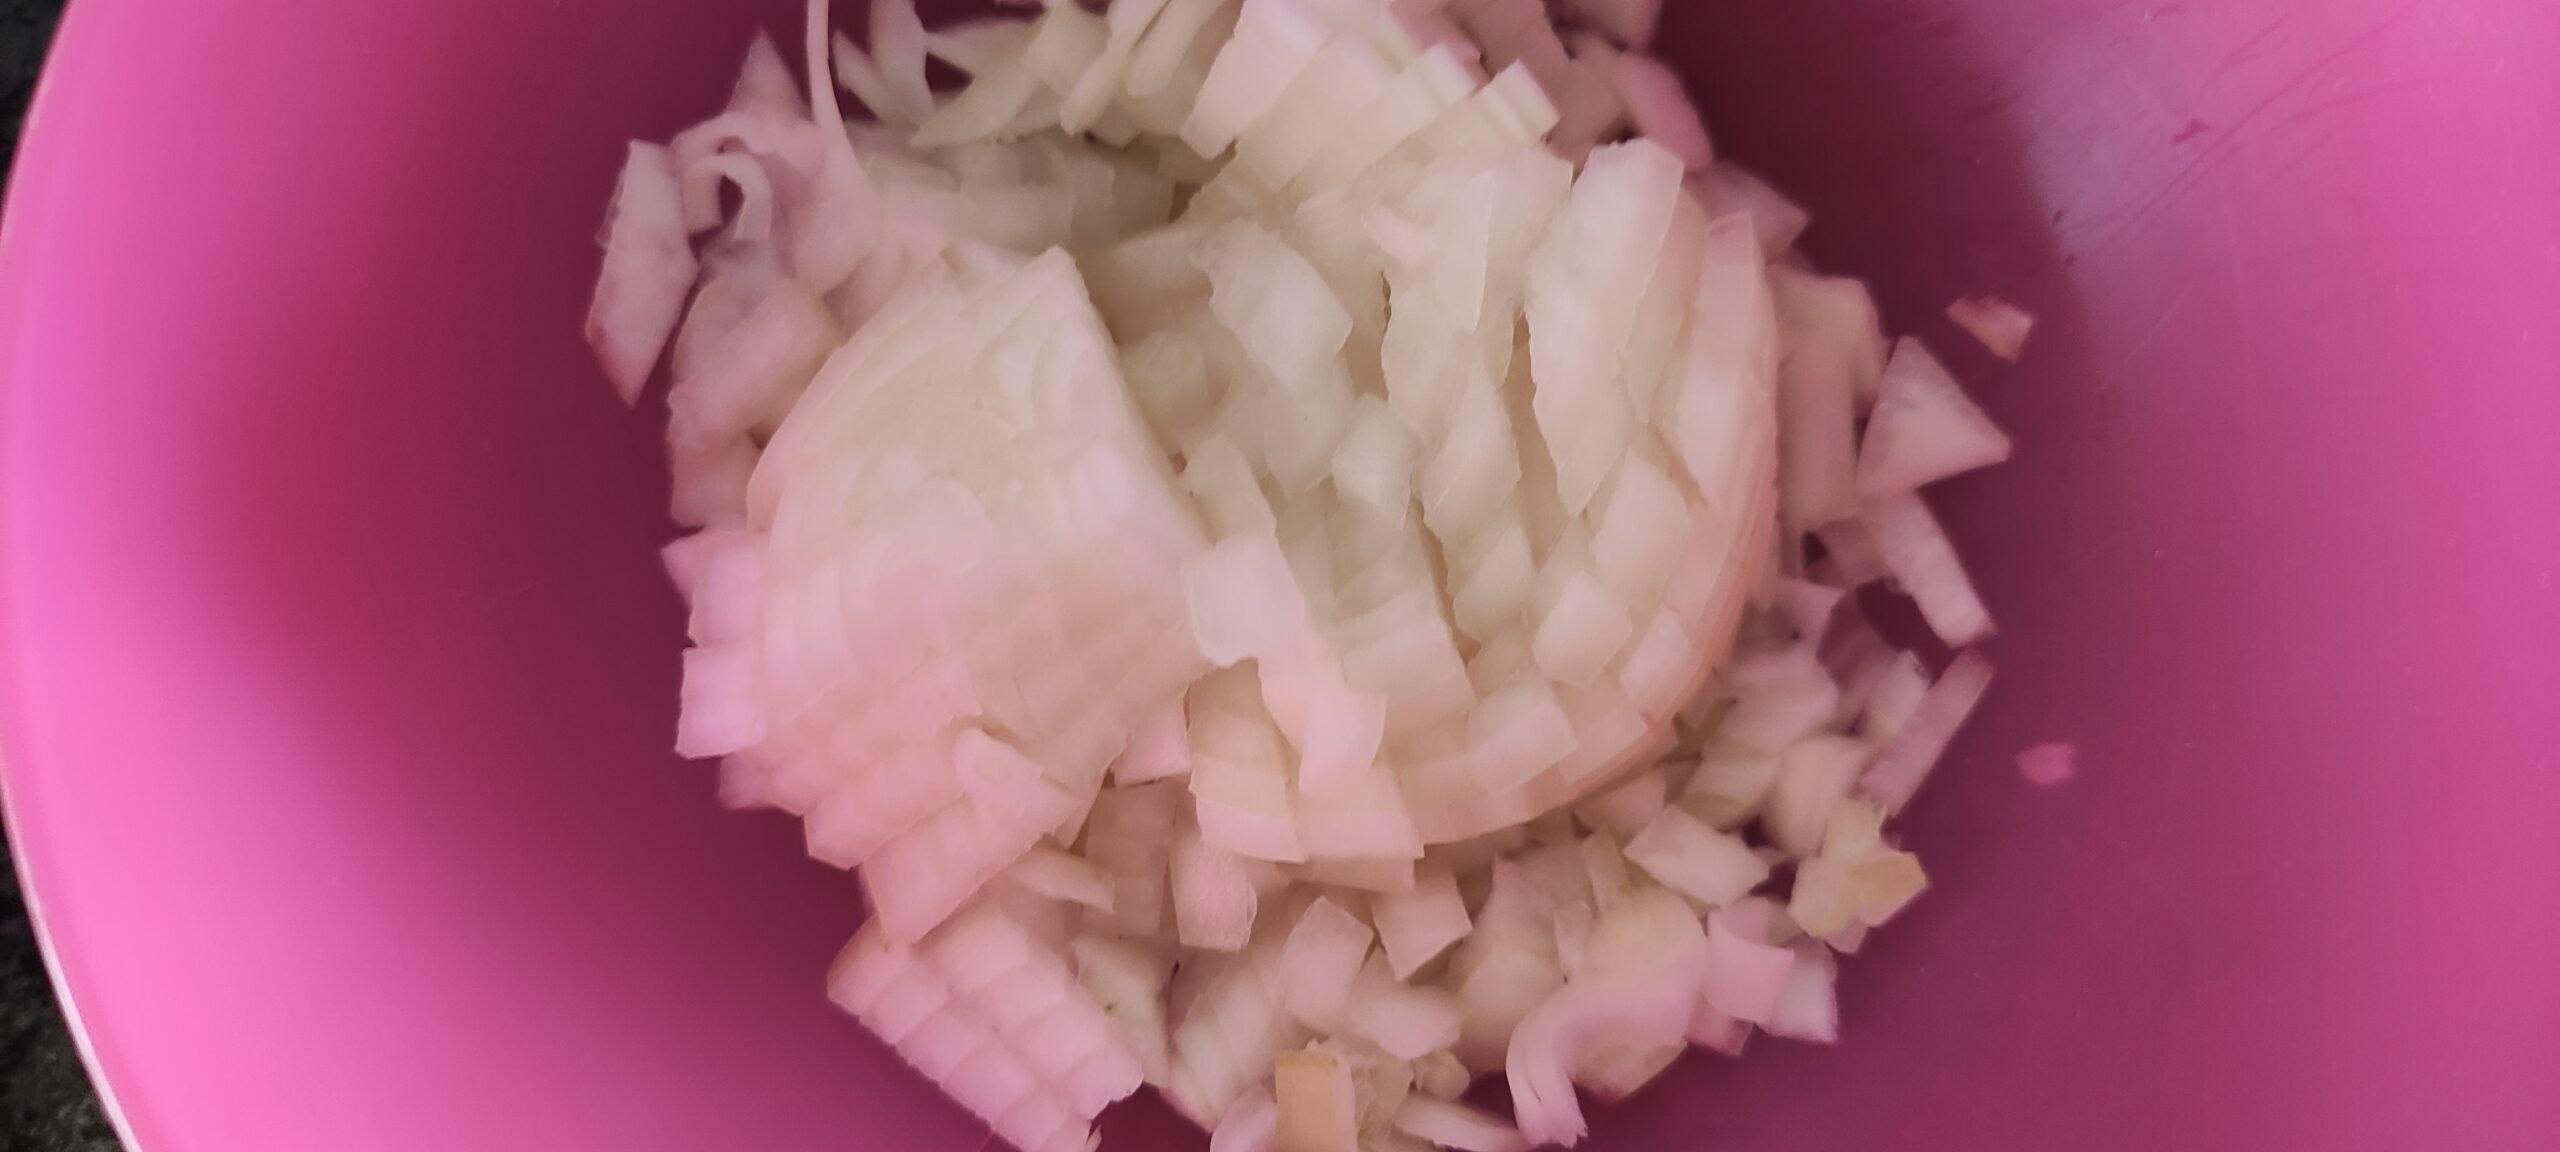
Chop the onion finely.
4.
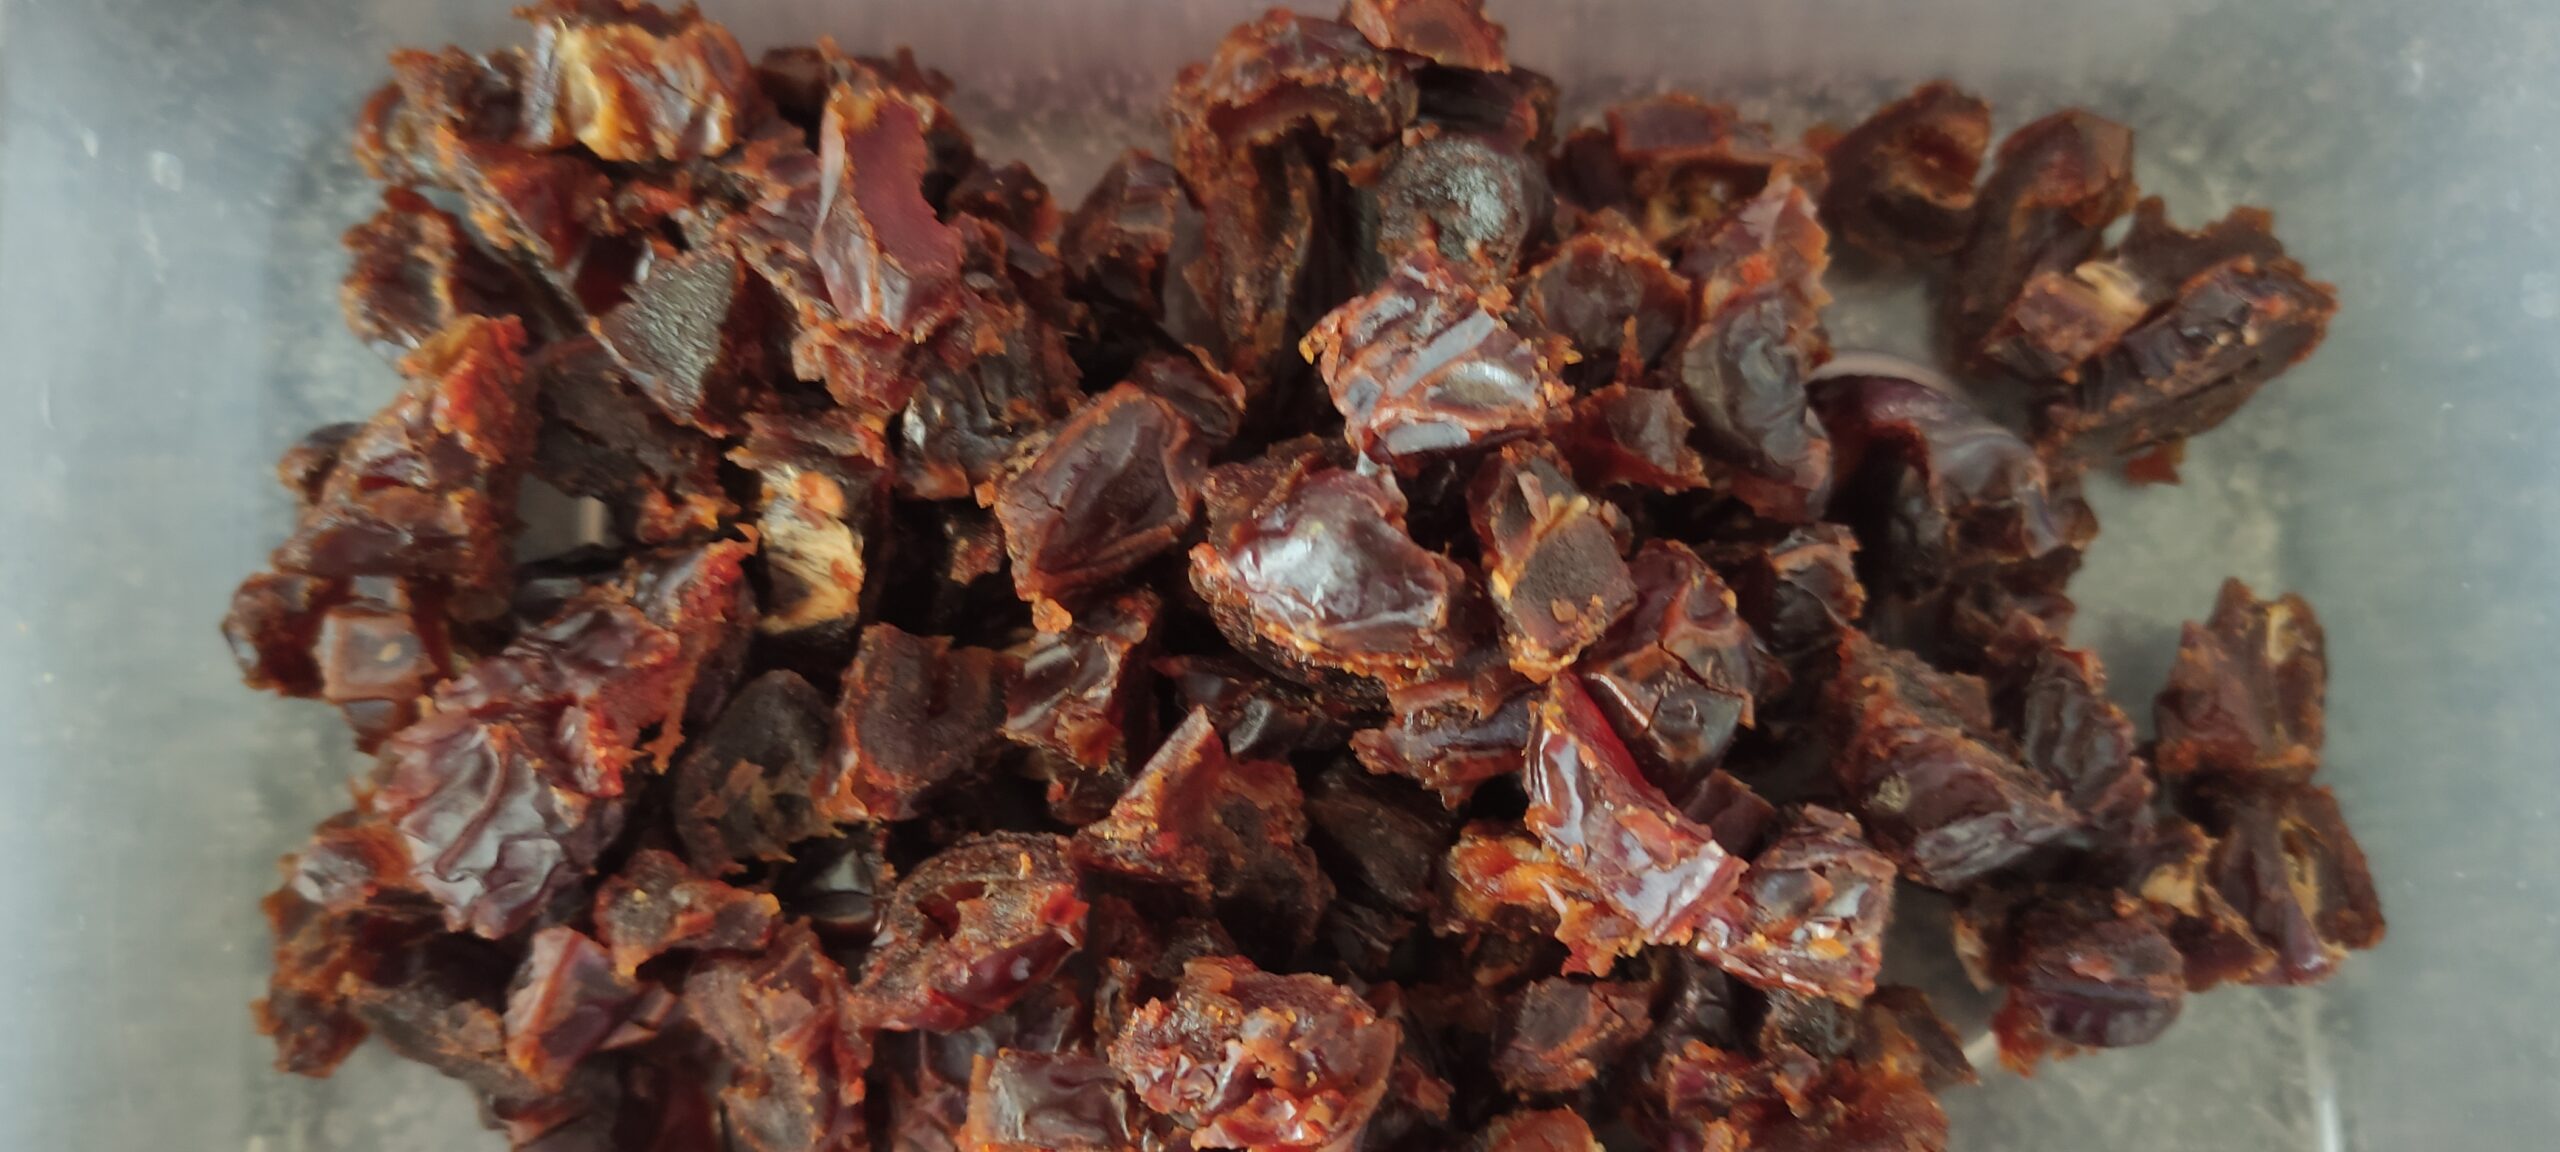
Stone and chop the dates.
5.
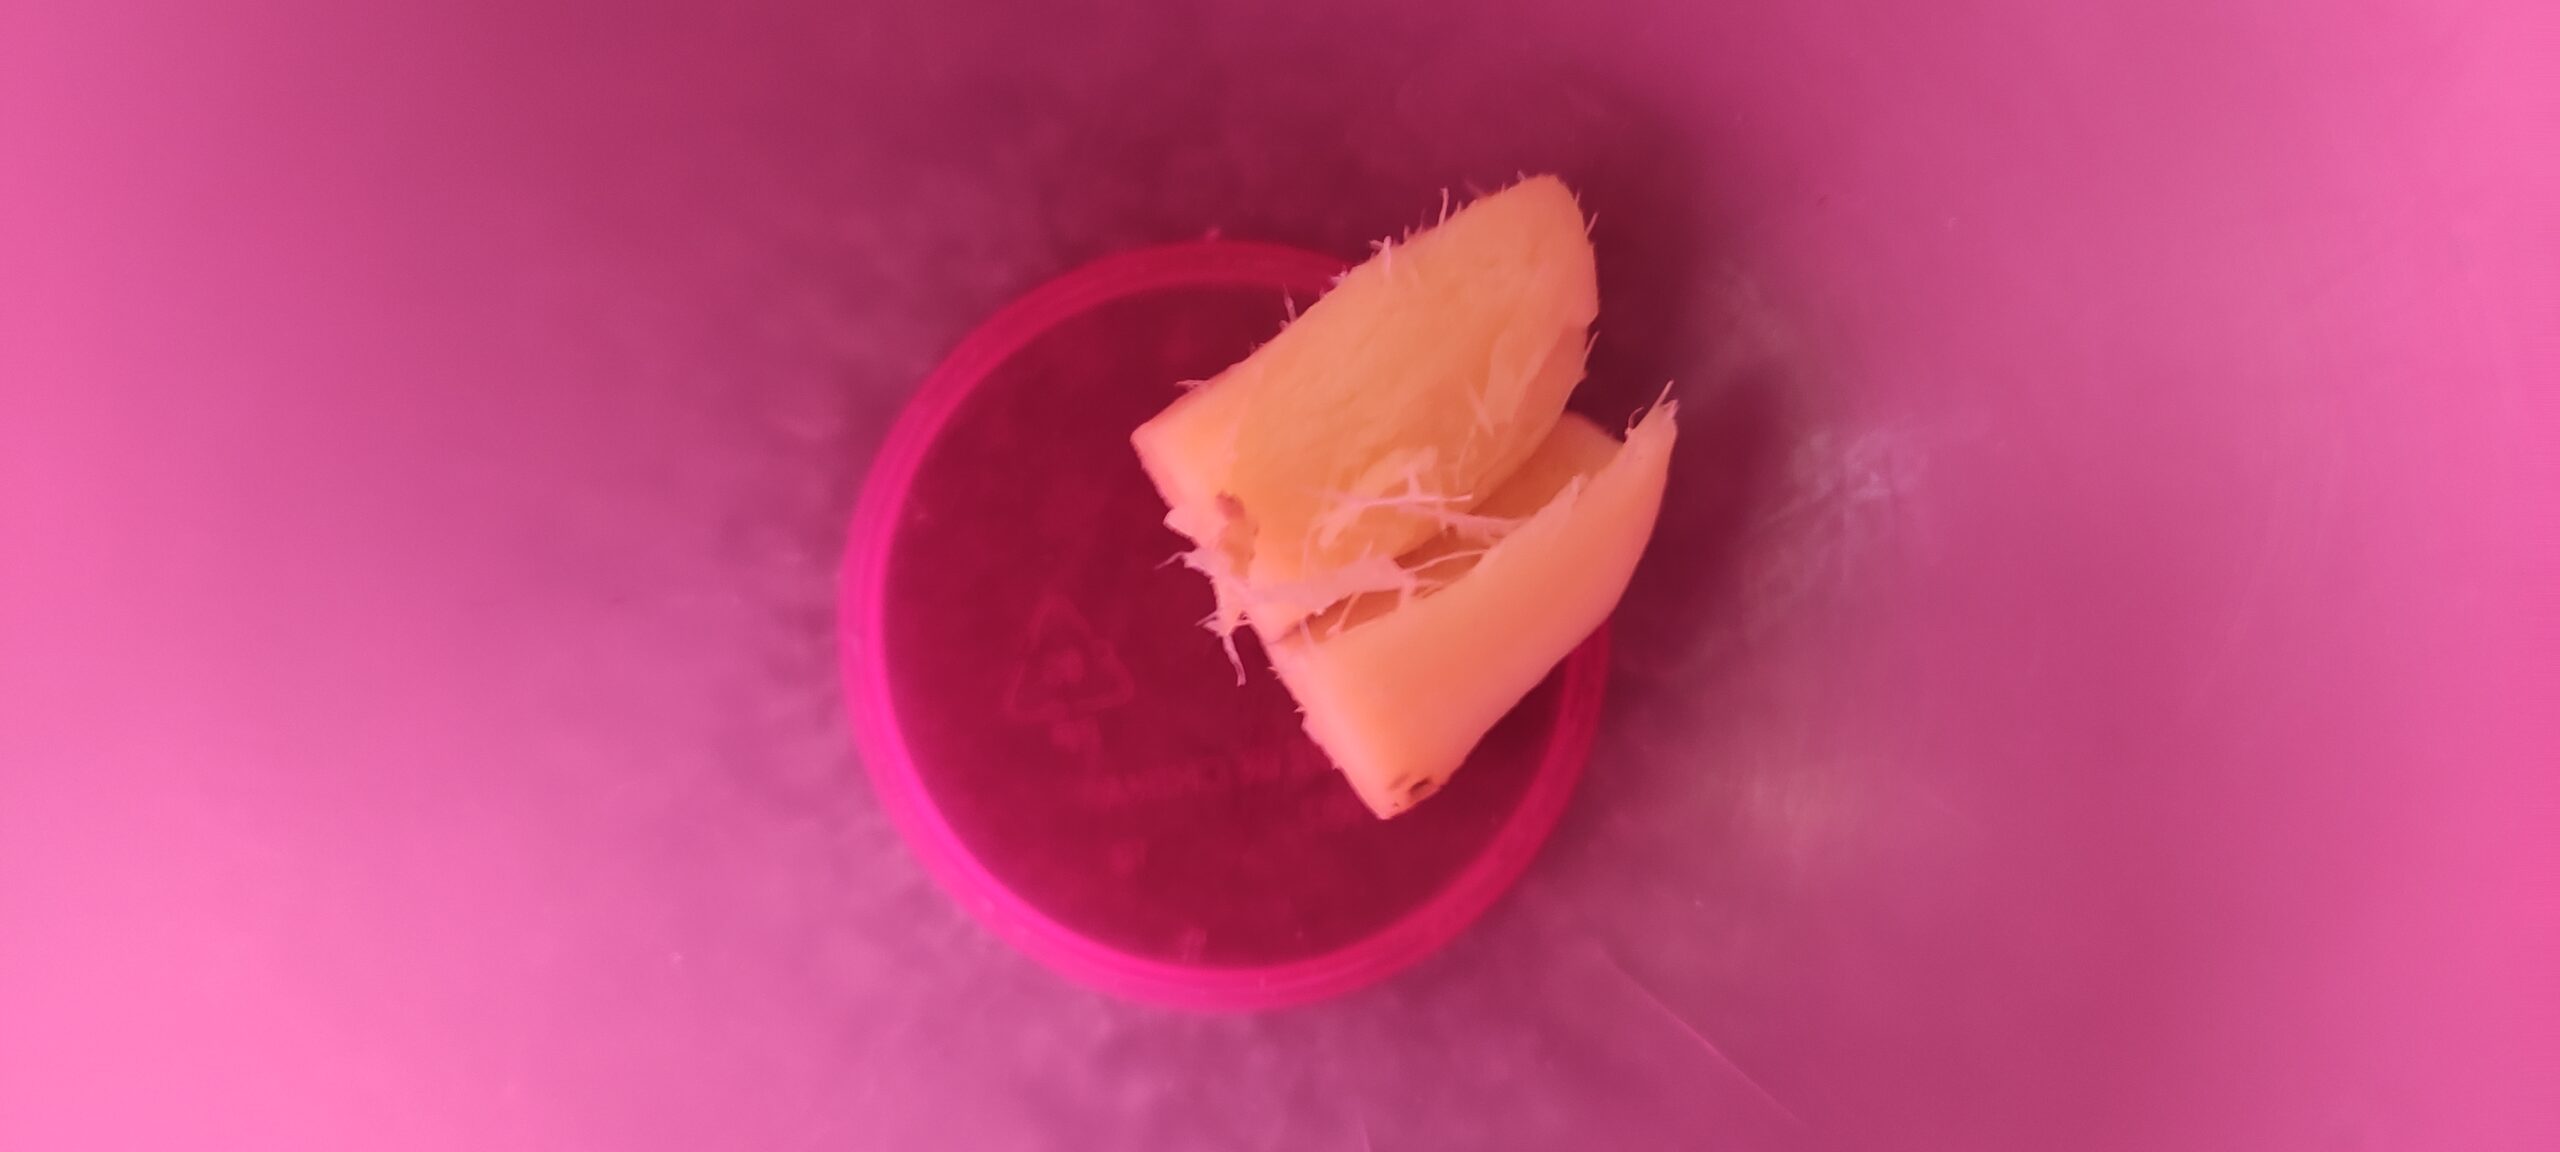
Peel and crush the root ginger with the side of a knife - try to keep it as intact as possible (easier to find and fish it out later).
6.
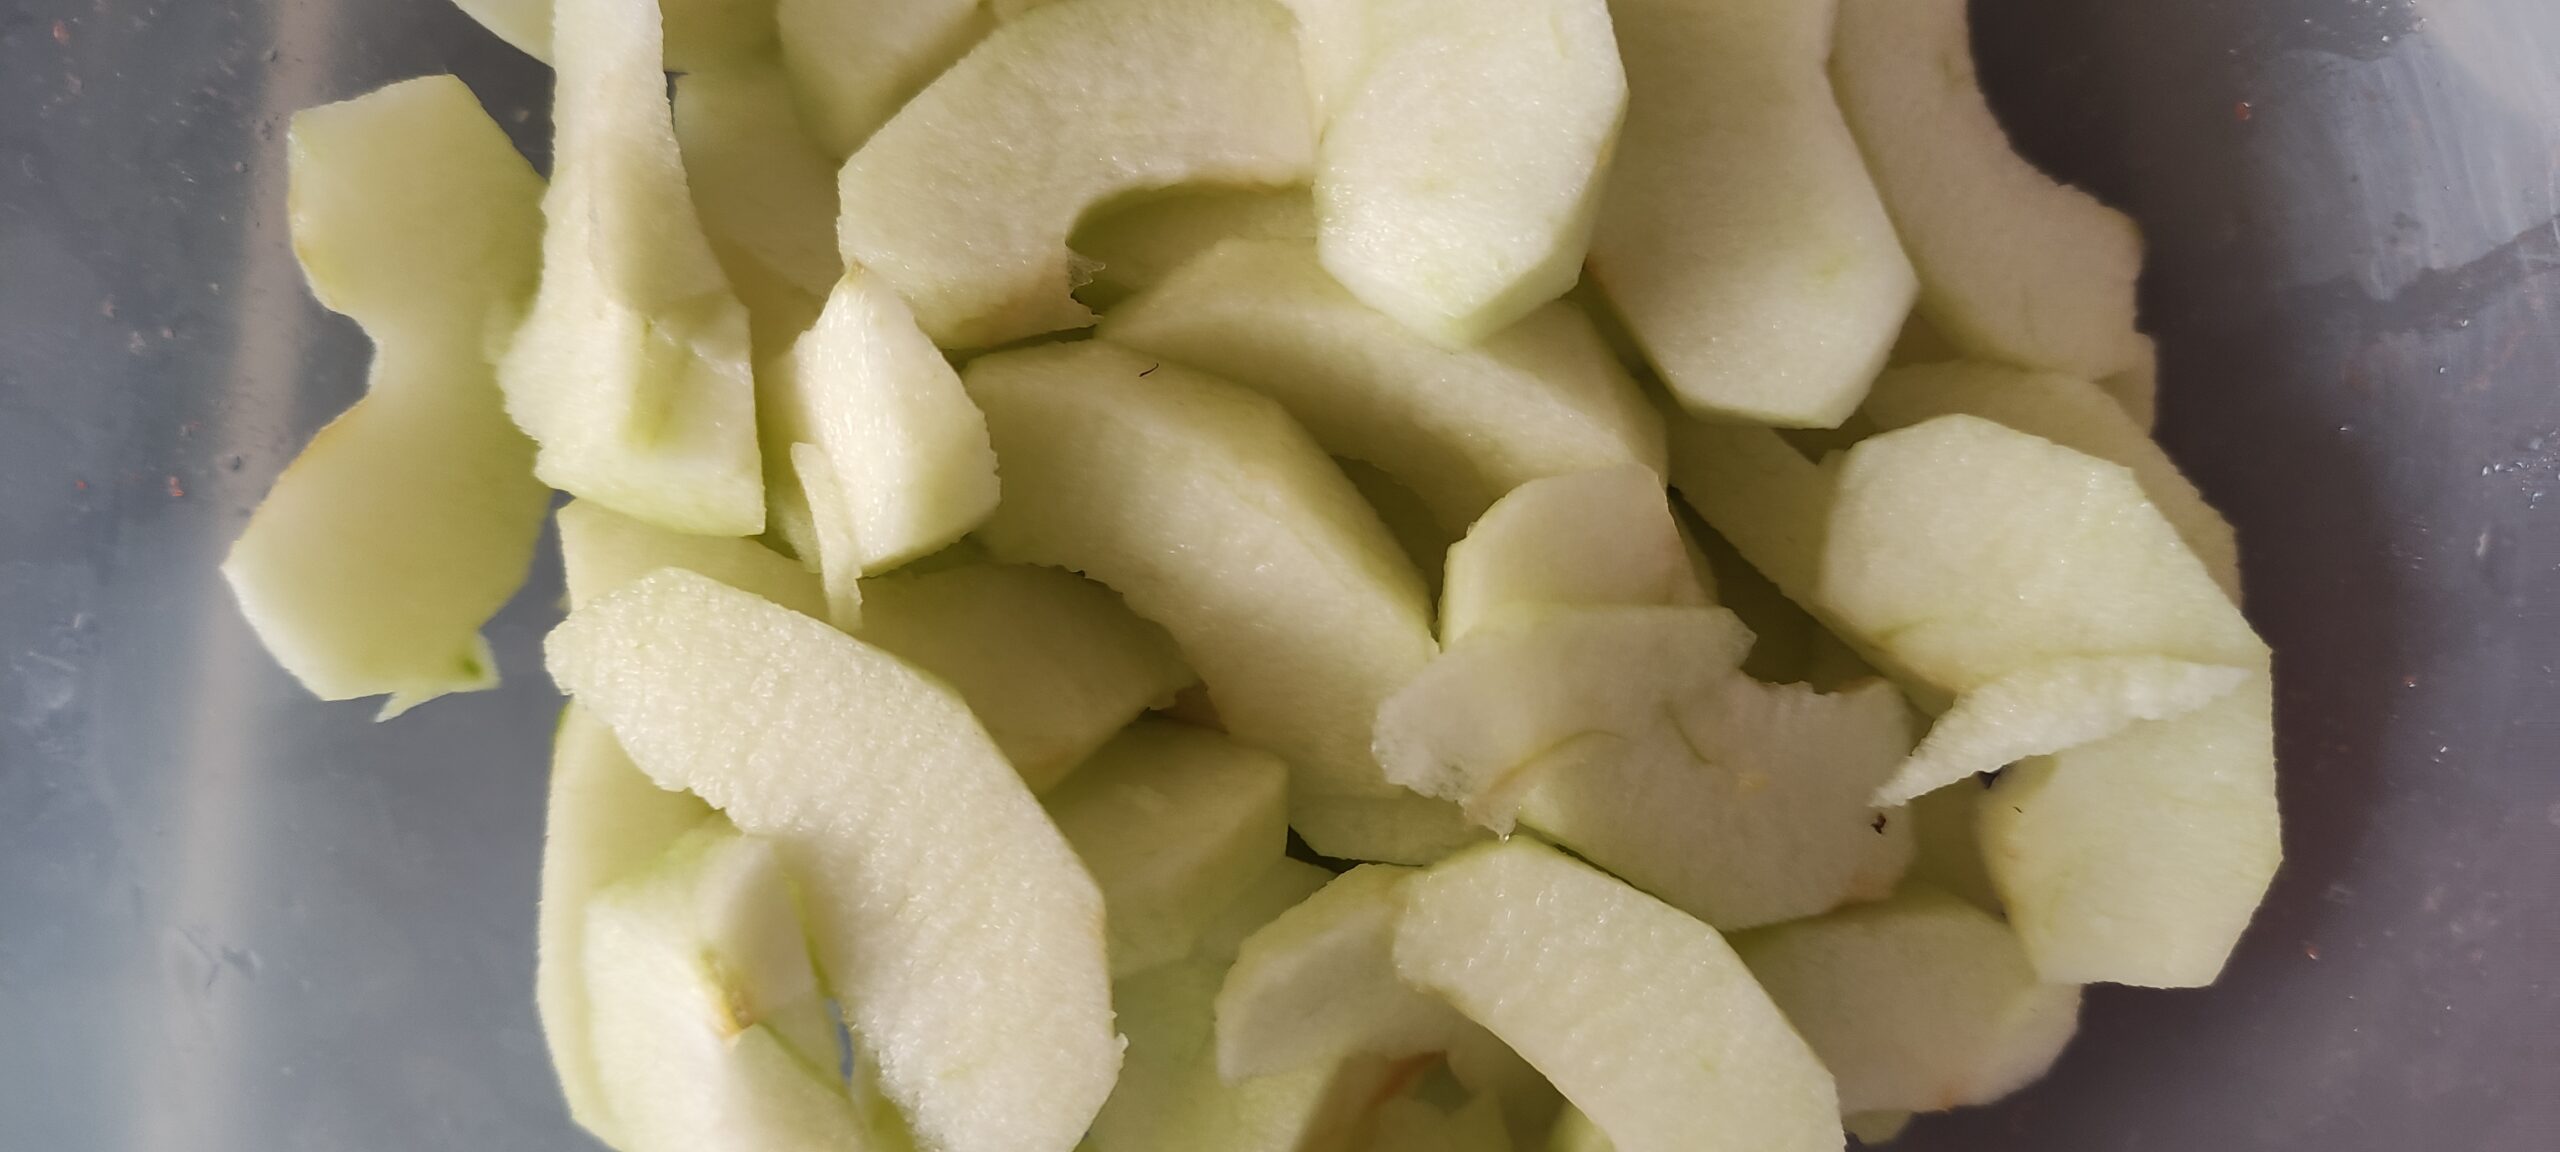
Peel and slice (or chop) your apples.
7.
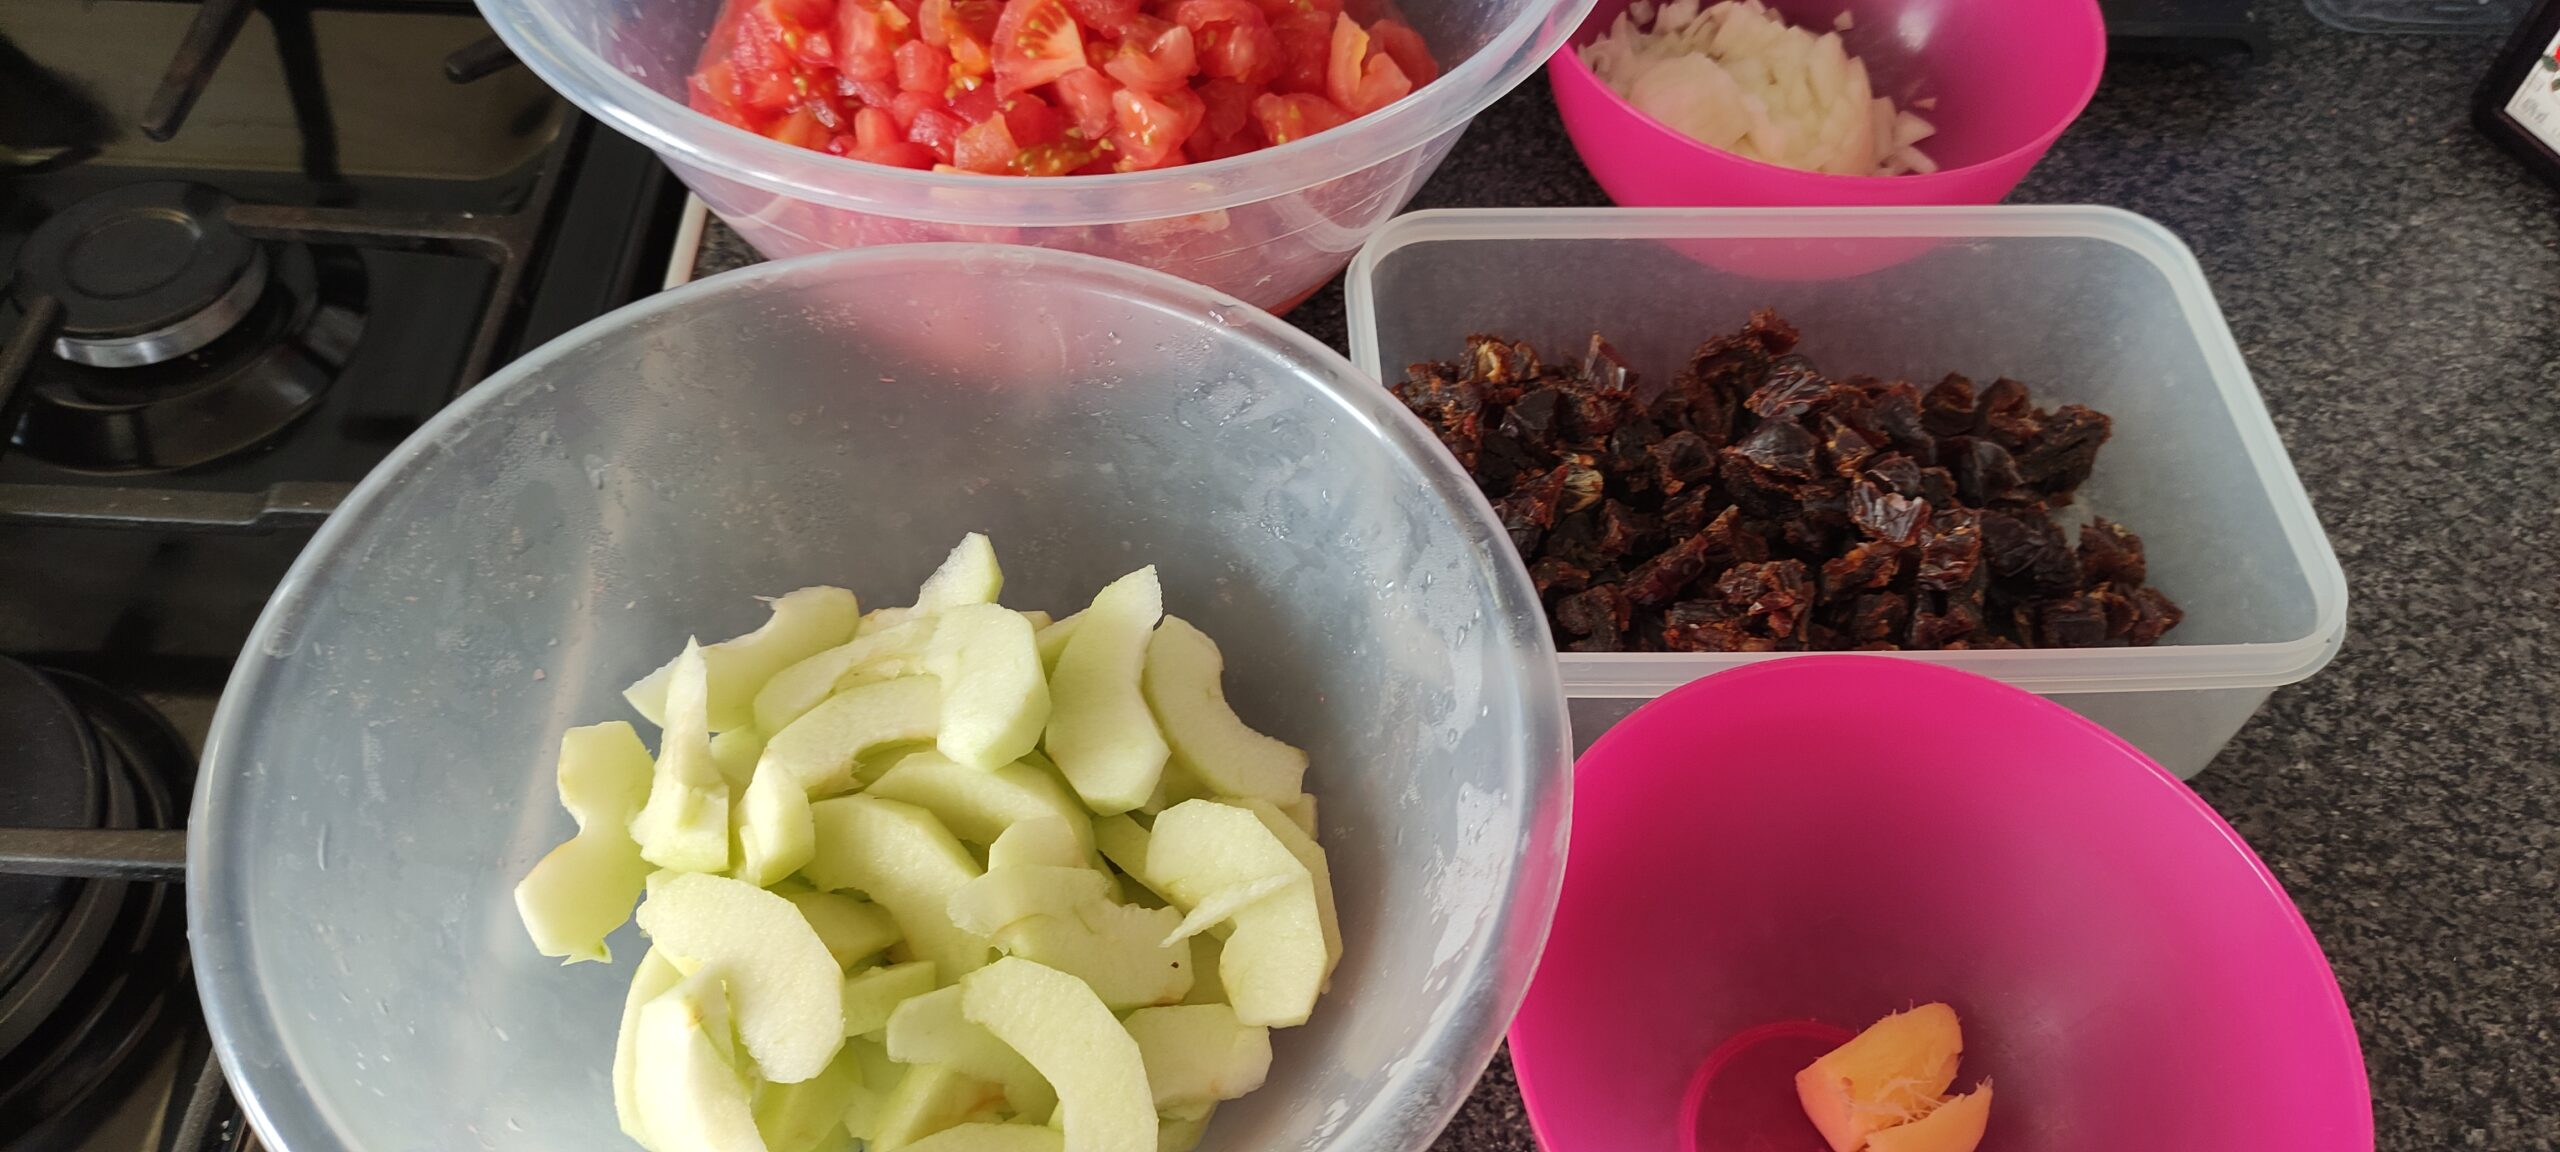
Phew! All your prep is done!
8.
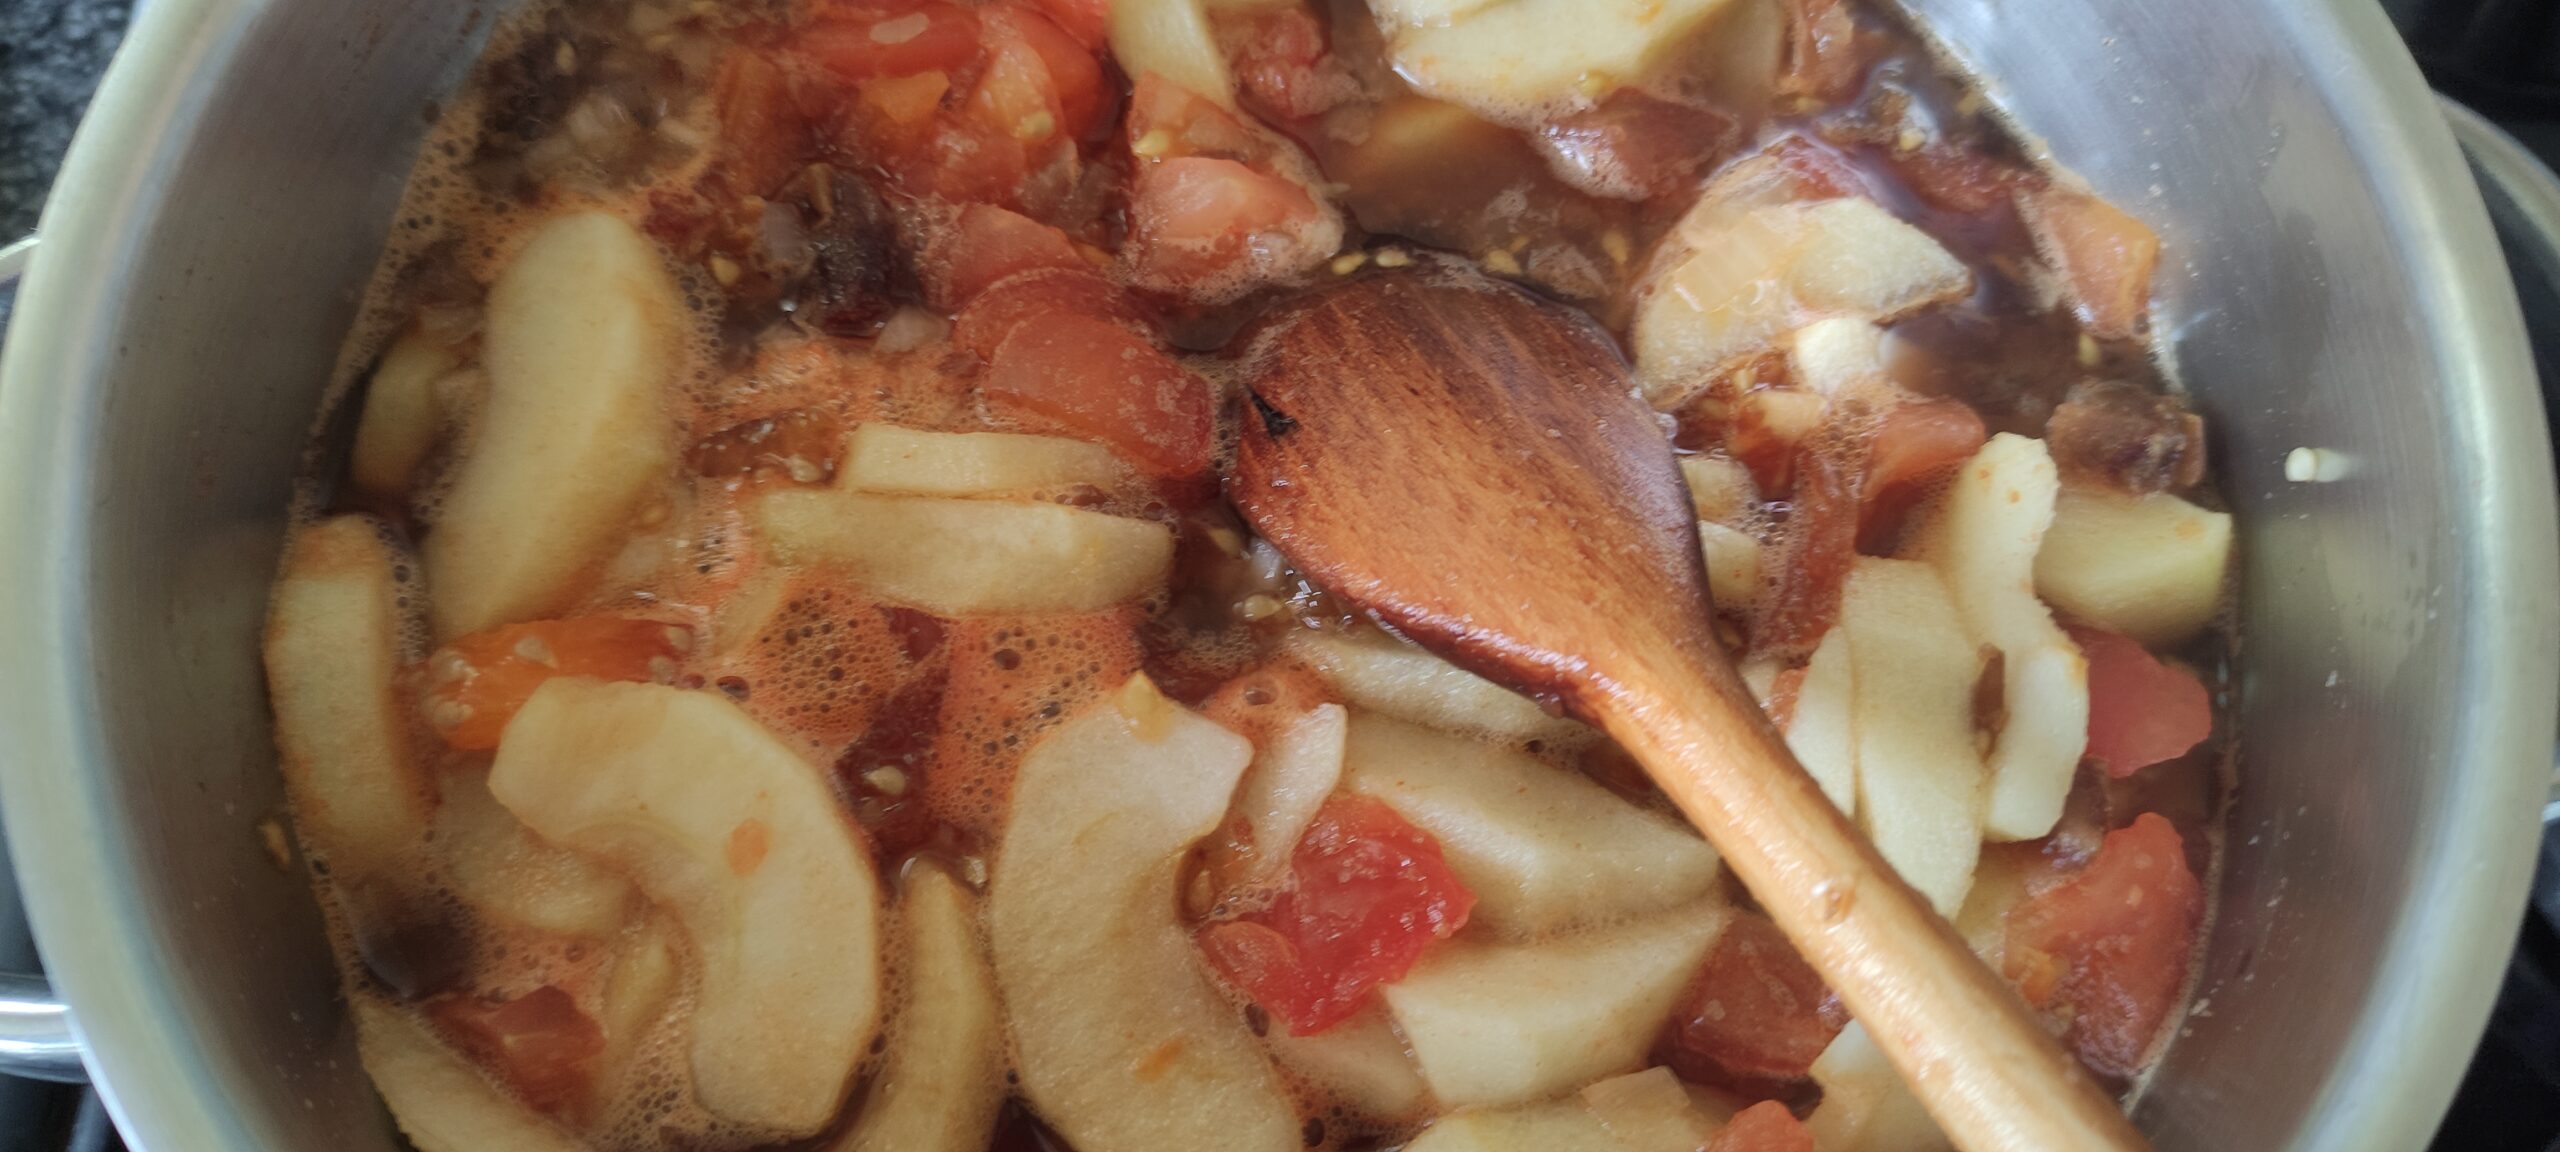
Place everything EXCEPT the sugar into a large preserving pan (or two large saucepans if necessary) and bring it to a boil. Pop on a lid and simmer for 45 minutes.
9.
Remove the lid, fish out the ginger if you can find it, and add the sugar. The chutney now needs to boil in order to thicken, which can take approximately an hour (this one took 1 hour and 10 minutes). You need to stir it every few minutes - but take great care! Leave it too long between stirrings and it will spit like a volcano...and it's about as hot as molten lava too!

10.
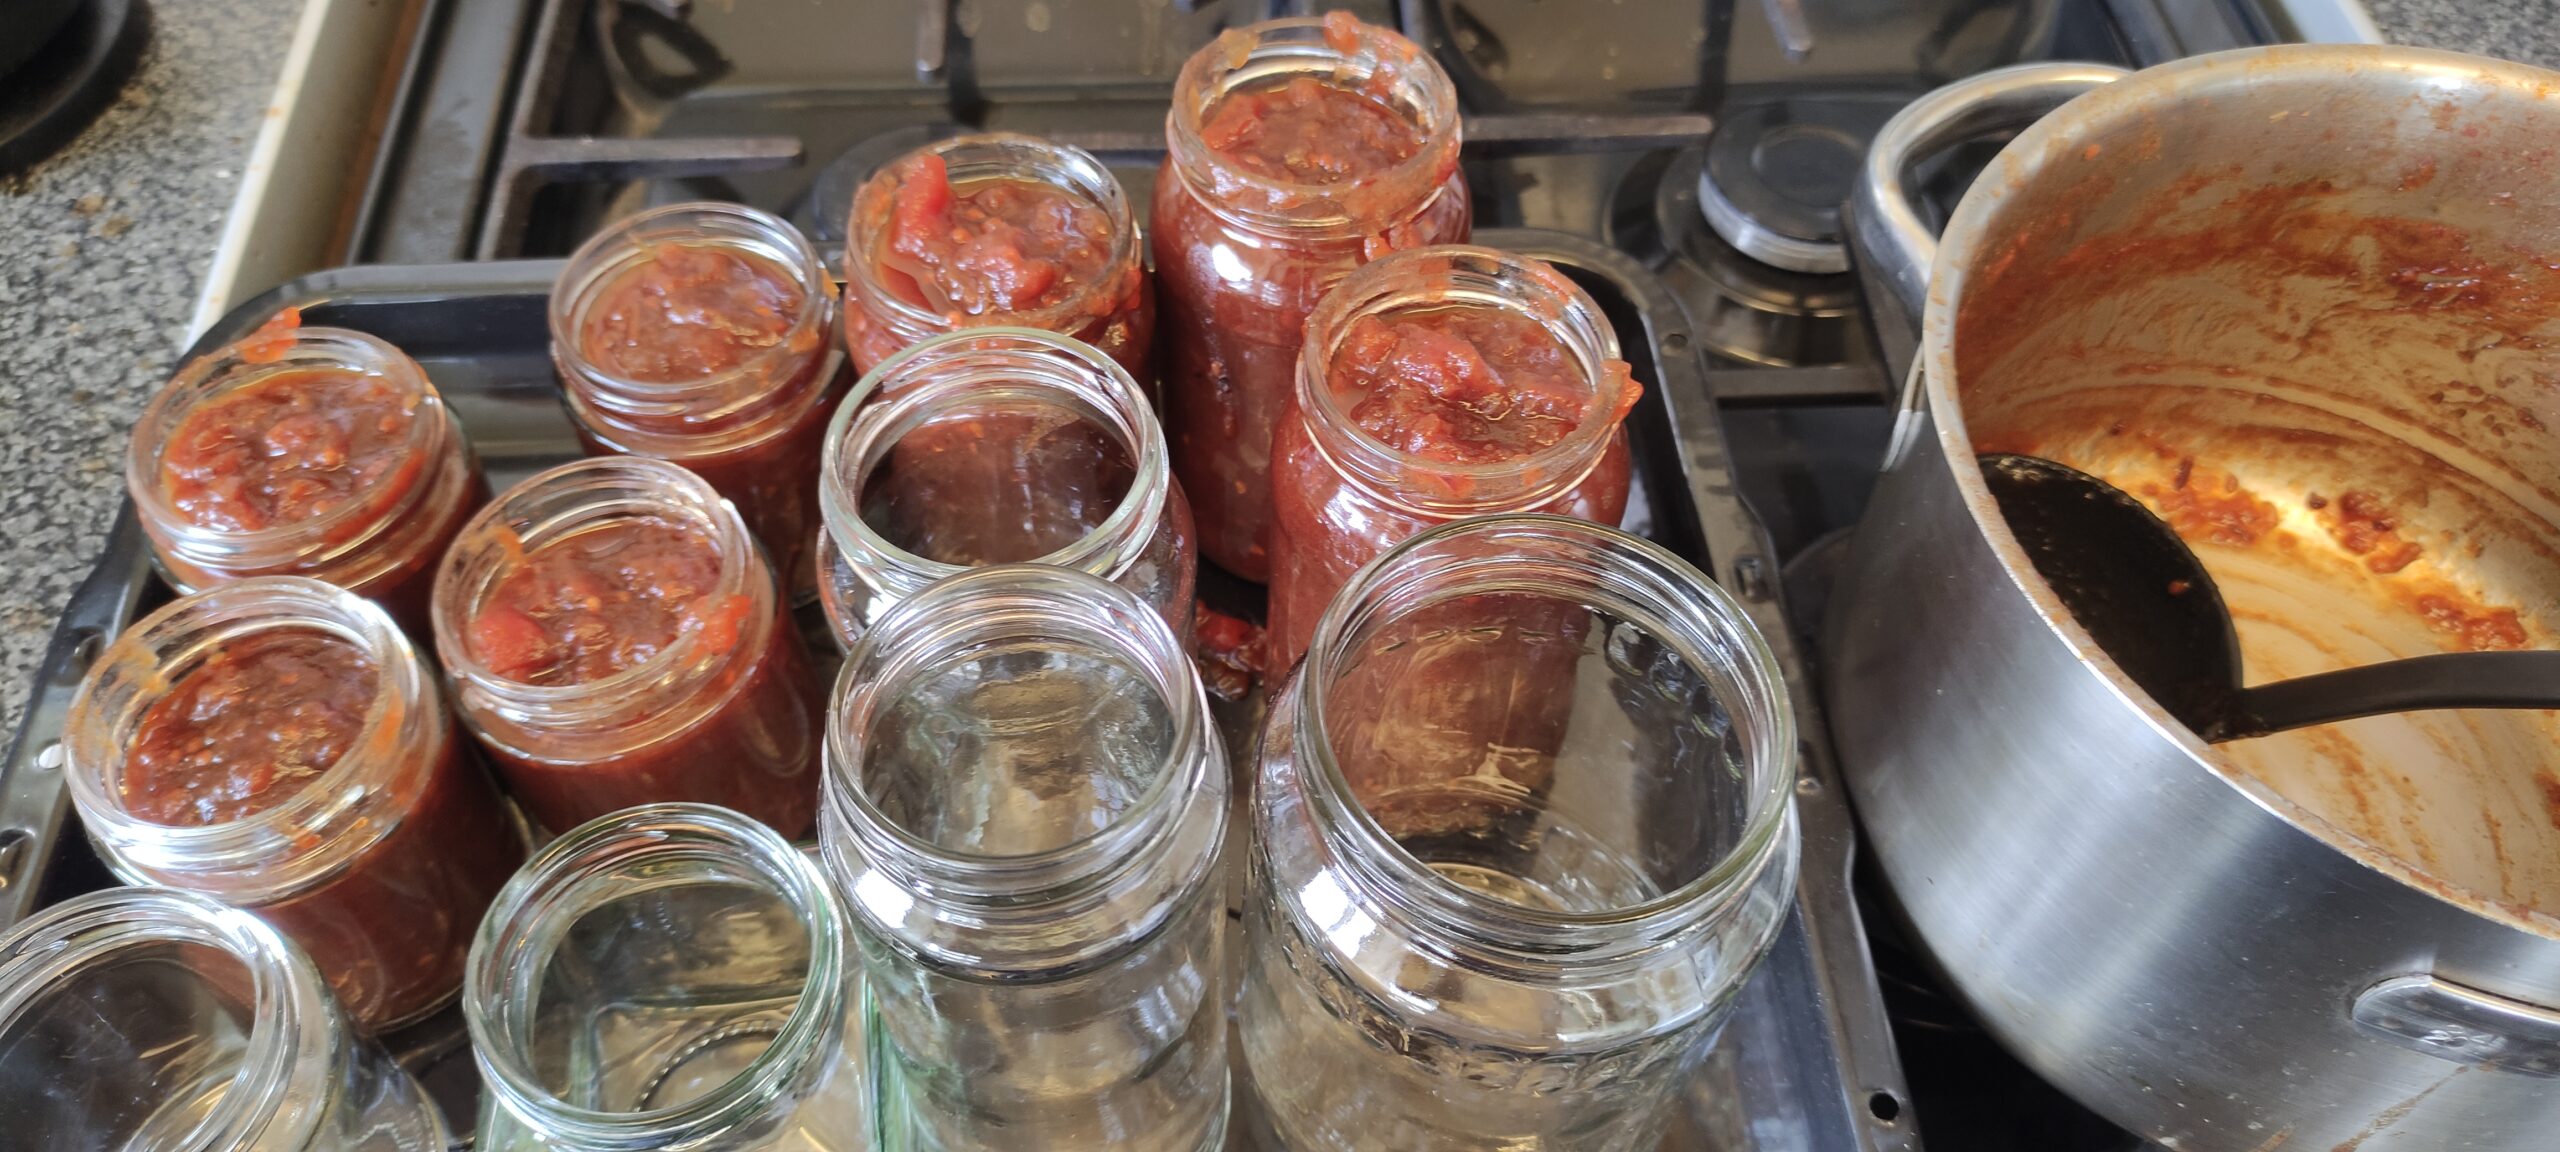
10 - 15 minutes into the boil, preheat your oven to 120ºC and get your jars ready to sterilize by sitting them in a large roasting pan. Once the oven is up to temperature, pop them in.

11.
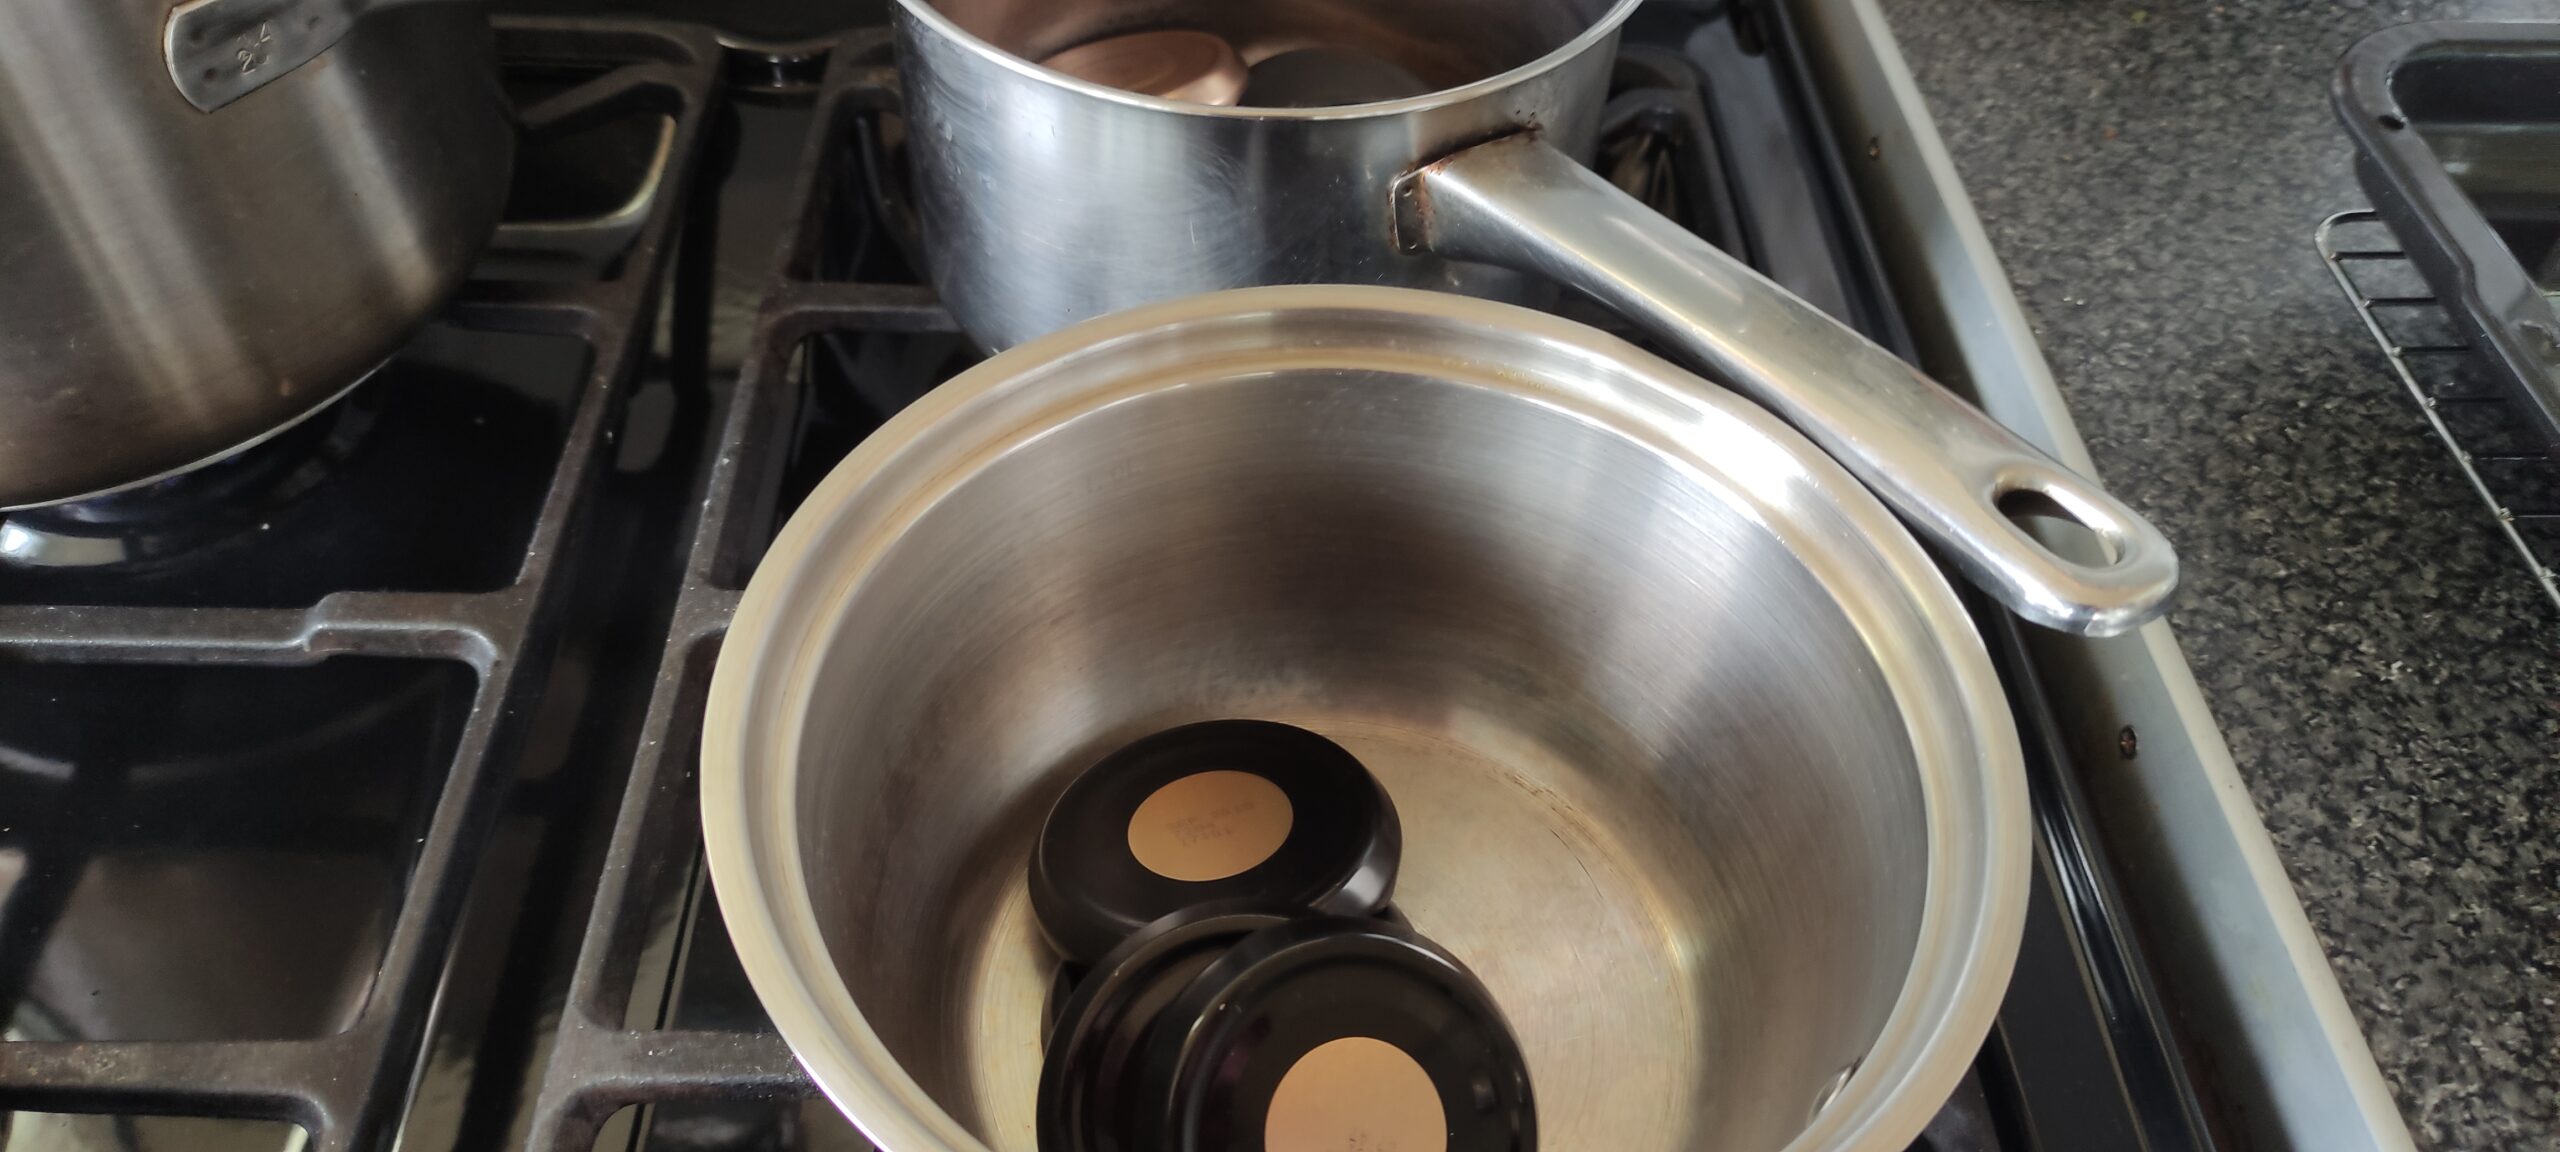
30 minutes into the boil, put the lids in a saucepan and cover them with boiling water. I'm using two saucepans because I've sorted mine into their different sizes. Set them to simmer and watch the water level carefully, topping up as needed.
12.
When you judge your chutney to have thickened sufficiently, turn of the heat and remove the jars from the oven. Ladle the chutney into the jars while both are still hot.
Again, take great care - the chutney is scolding hot.
13.
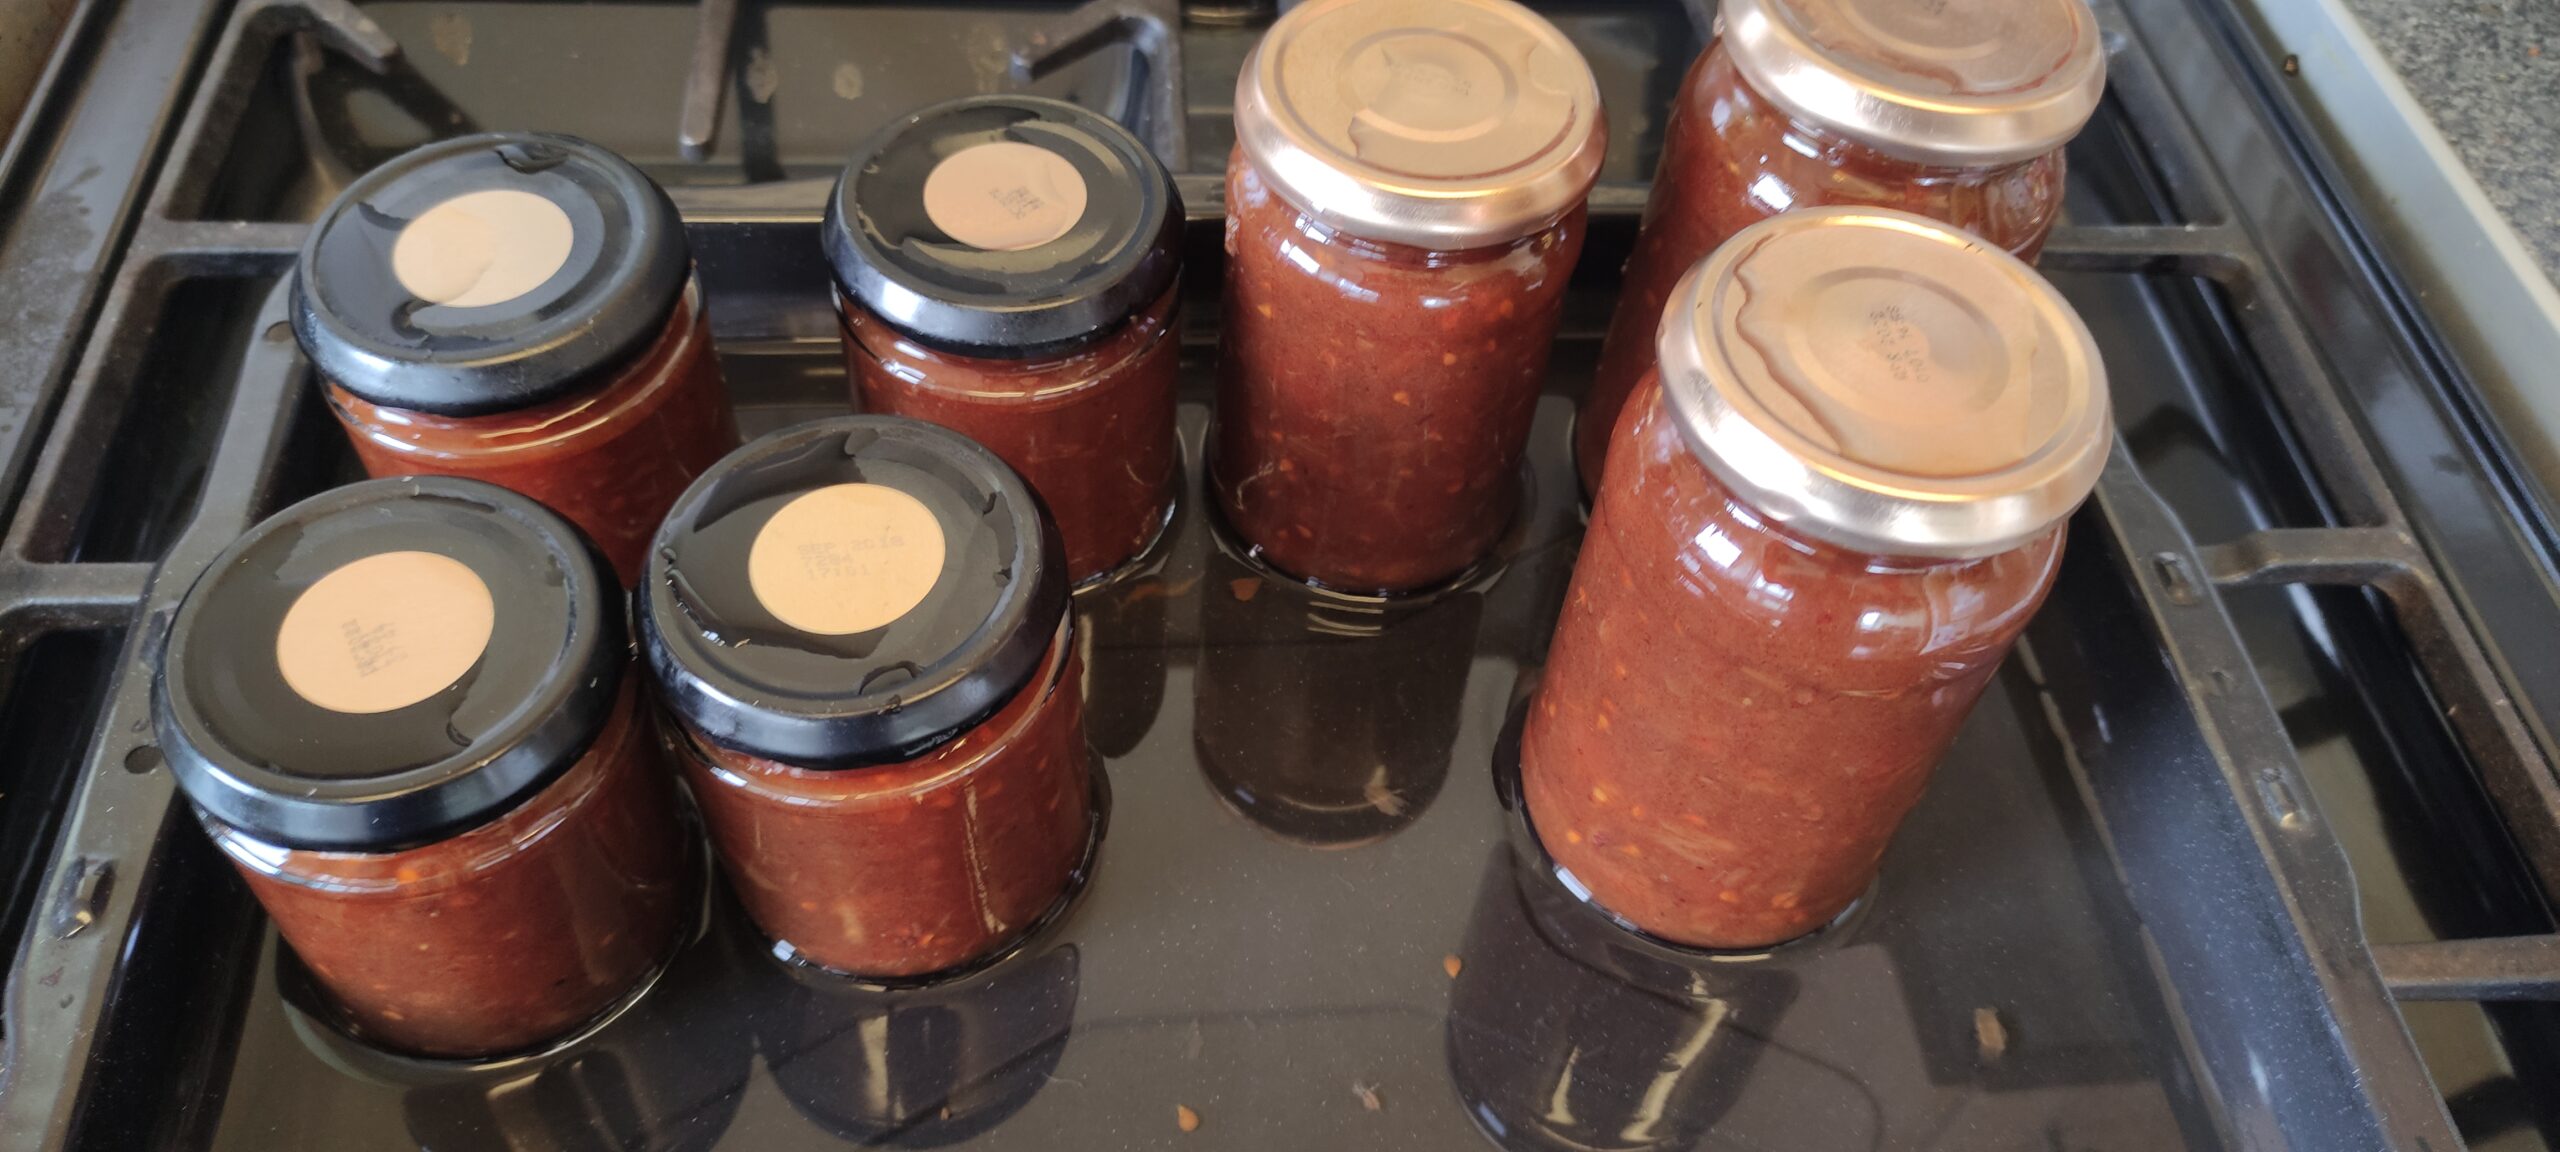
Drain your lids and allow them to air-dry. Using a cloth to hold the outside of the jars, screw on the lids as best you can (they can always be tightened later).
Boil a kettle and use the water to wash any overspill from the outside of the jars (again, once the lids are tight and a seal has formed - you'll know when you hear them pop - any sticky remainder can be washed off with hot, soapy water.
14.
Congratulations! It's been a lot of work, but you now have a truly superior product that will see you through the coming year. Great with a nice mature cheddar!

Any questions? You can use the comments form at the bottom of the page.
Did you know?
You'll find recipes at the back of all the books in the Send for Octavius Guy series: