Sourdough crackers
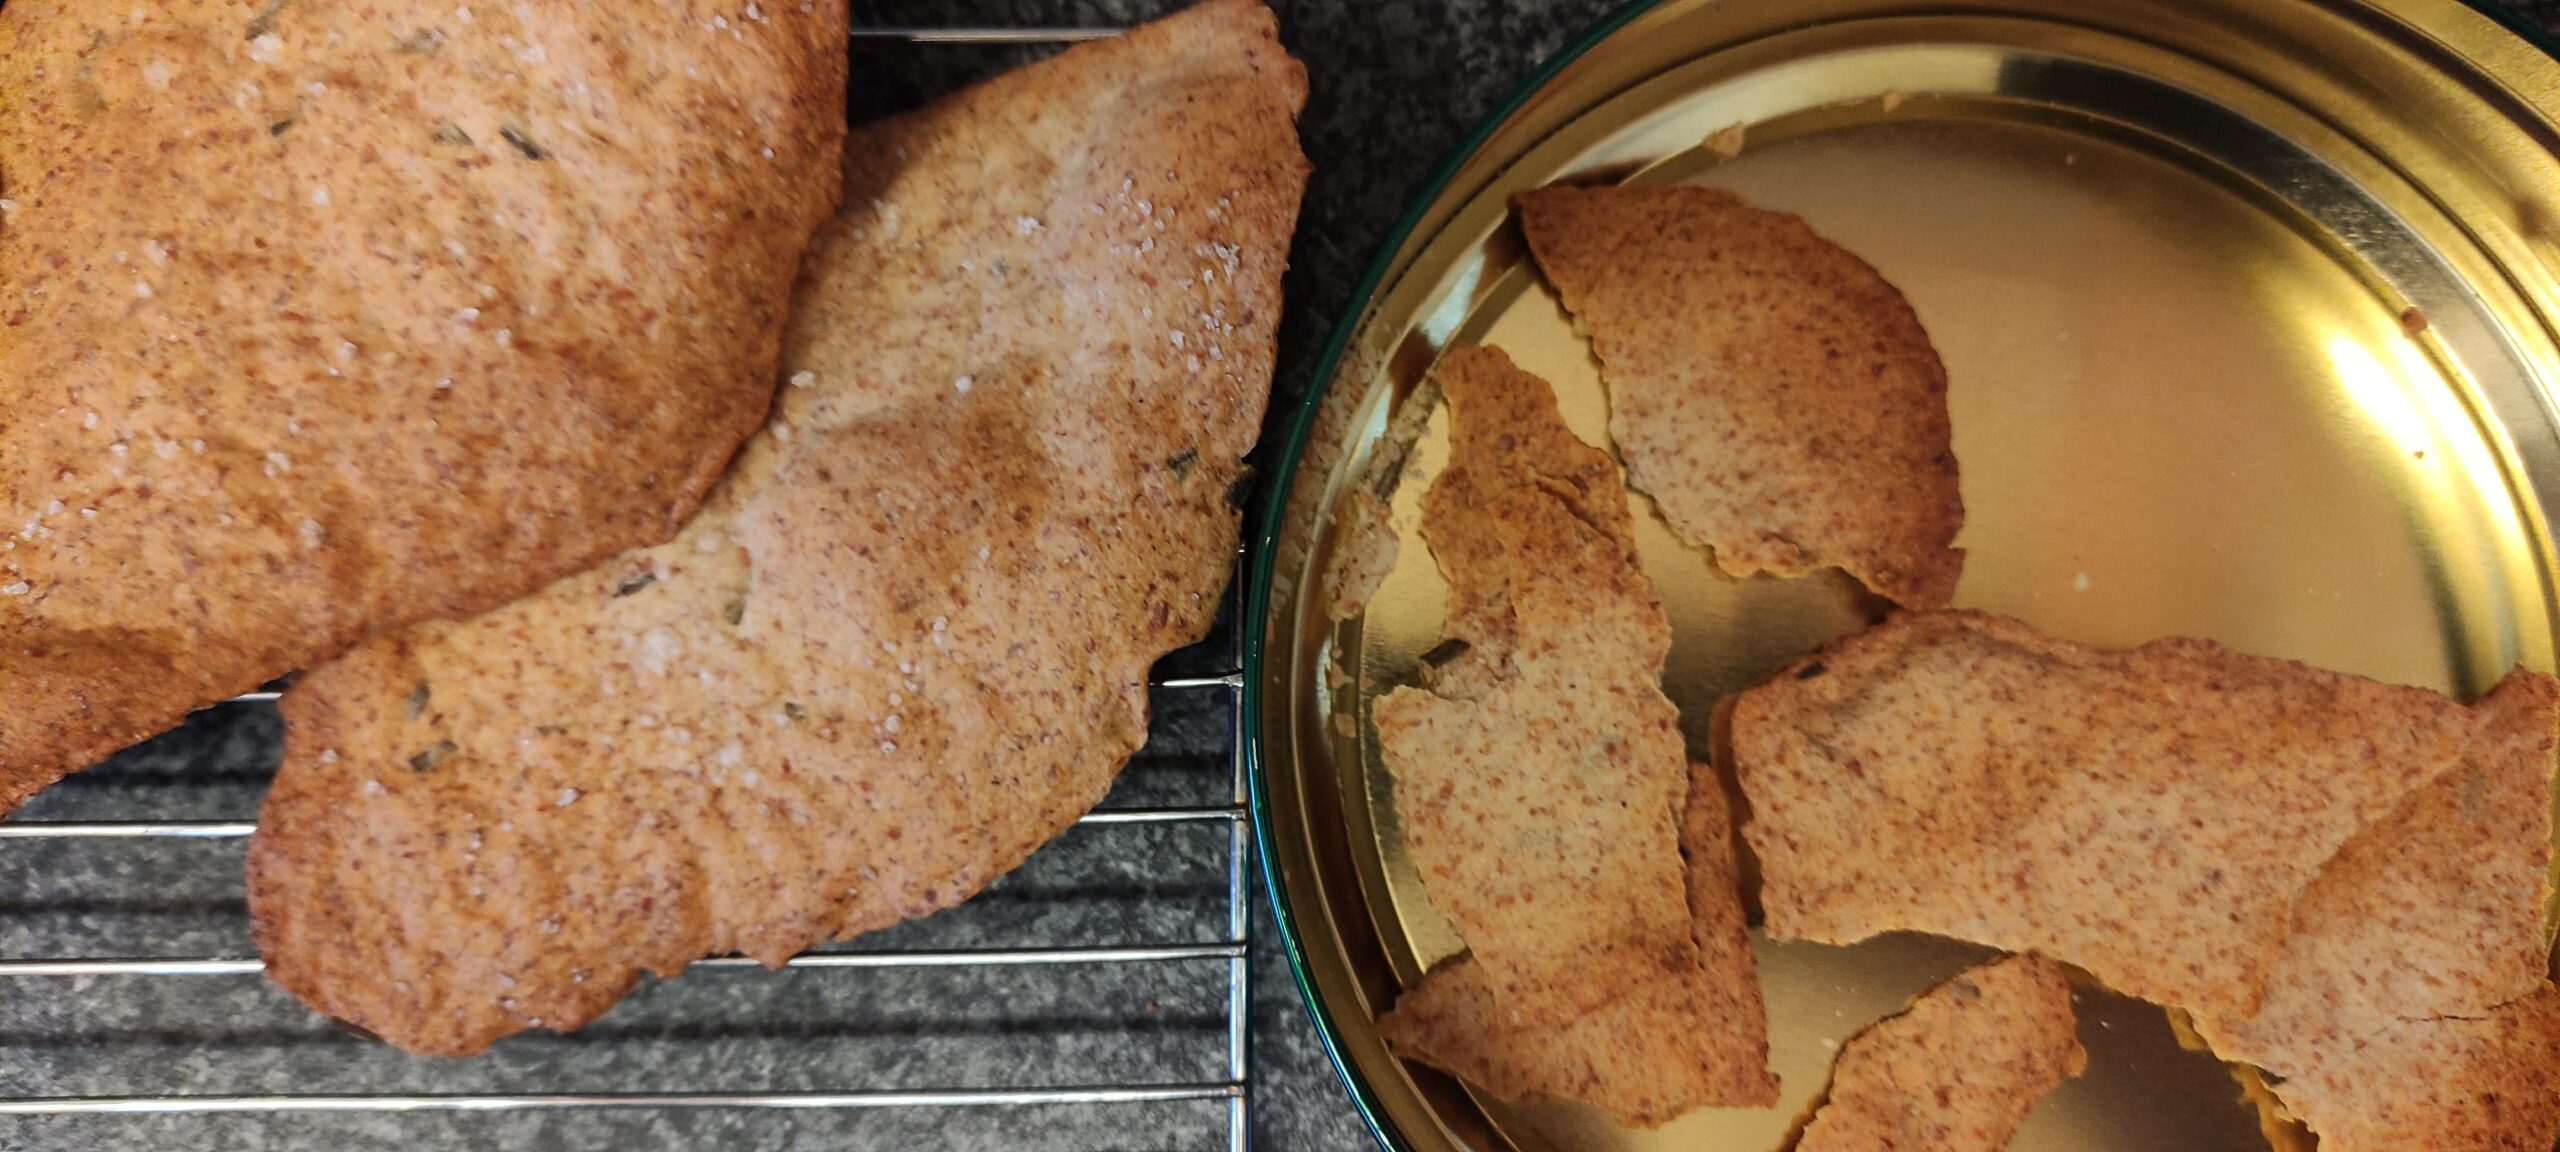
At Christmas one of my neighbours gave me a parcel of festive foods which included a box of Peter's Yard Rosemary and Sea Salt Sourdough Crackers. It got me wondering if I could use the discard from the weekly feeding of my sourdough starter to make something similar. And it turns out that I can!
Everybody has their own approach to starting and maintaining their sourdough starter: some people don't discard; some only make minute amounts; some feed their starter solely with wholemeal or rye flour; some keep their starter in the fridge and feed it weekly (I do) while others keep it at room temperature and feed it daily.
For this recipe you'll need 75g of discard (exhausted starter) that was fed on strong white flour at 100% hydration, which simply means it was made with equal weights of flour and water. Of course you can use something different - but it may mean reworking the maths or using different flours: if you feed your starter on wholemeal or rye, you might want to consider using predominantly white flour in your crackers.
As for equipment, you'll need a reliable set of scales, a mixing bowl, some clingfilm, a couple of baking trays, a rolling pin, a fair bit of non-stick baking paper, and a spray bottle that gives a fine spray.
By the by, I've now made all the flavours listed here and I am currently blown away by the cheddar and onion variety!
Ingredients
12g filtered water
a scant 1/4 teaspoon ground sea salt
15g oil (a light olive oil would be good)
75g sourdough discard (at 100% hydration)
75g strong bread flour in total
I use:
35g wholemeal flour
25g white flour
15g rye flour
Flavourings:
1.5 - 2 teaspoons fresh or frozen rosemary leaves, chopped
(you could use dried at a pinch)
or
3 level teaspoons sesame seeds
or
two or three sundried tomatoes, chopped finely
plus 6 - 8 basil leaves, sliced finely
or
25g mature cheddar, grated fairly finely
plus some finely snipped chives (or the green part of a spring onion), to taste
coarse ground sea salt to sprinkle
Method
1.
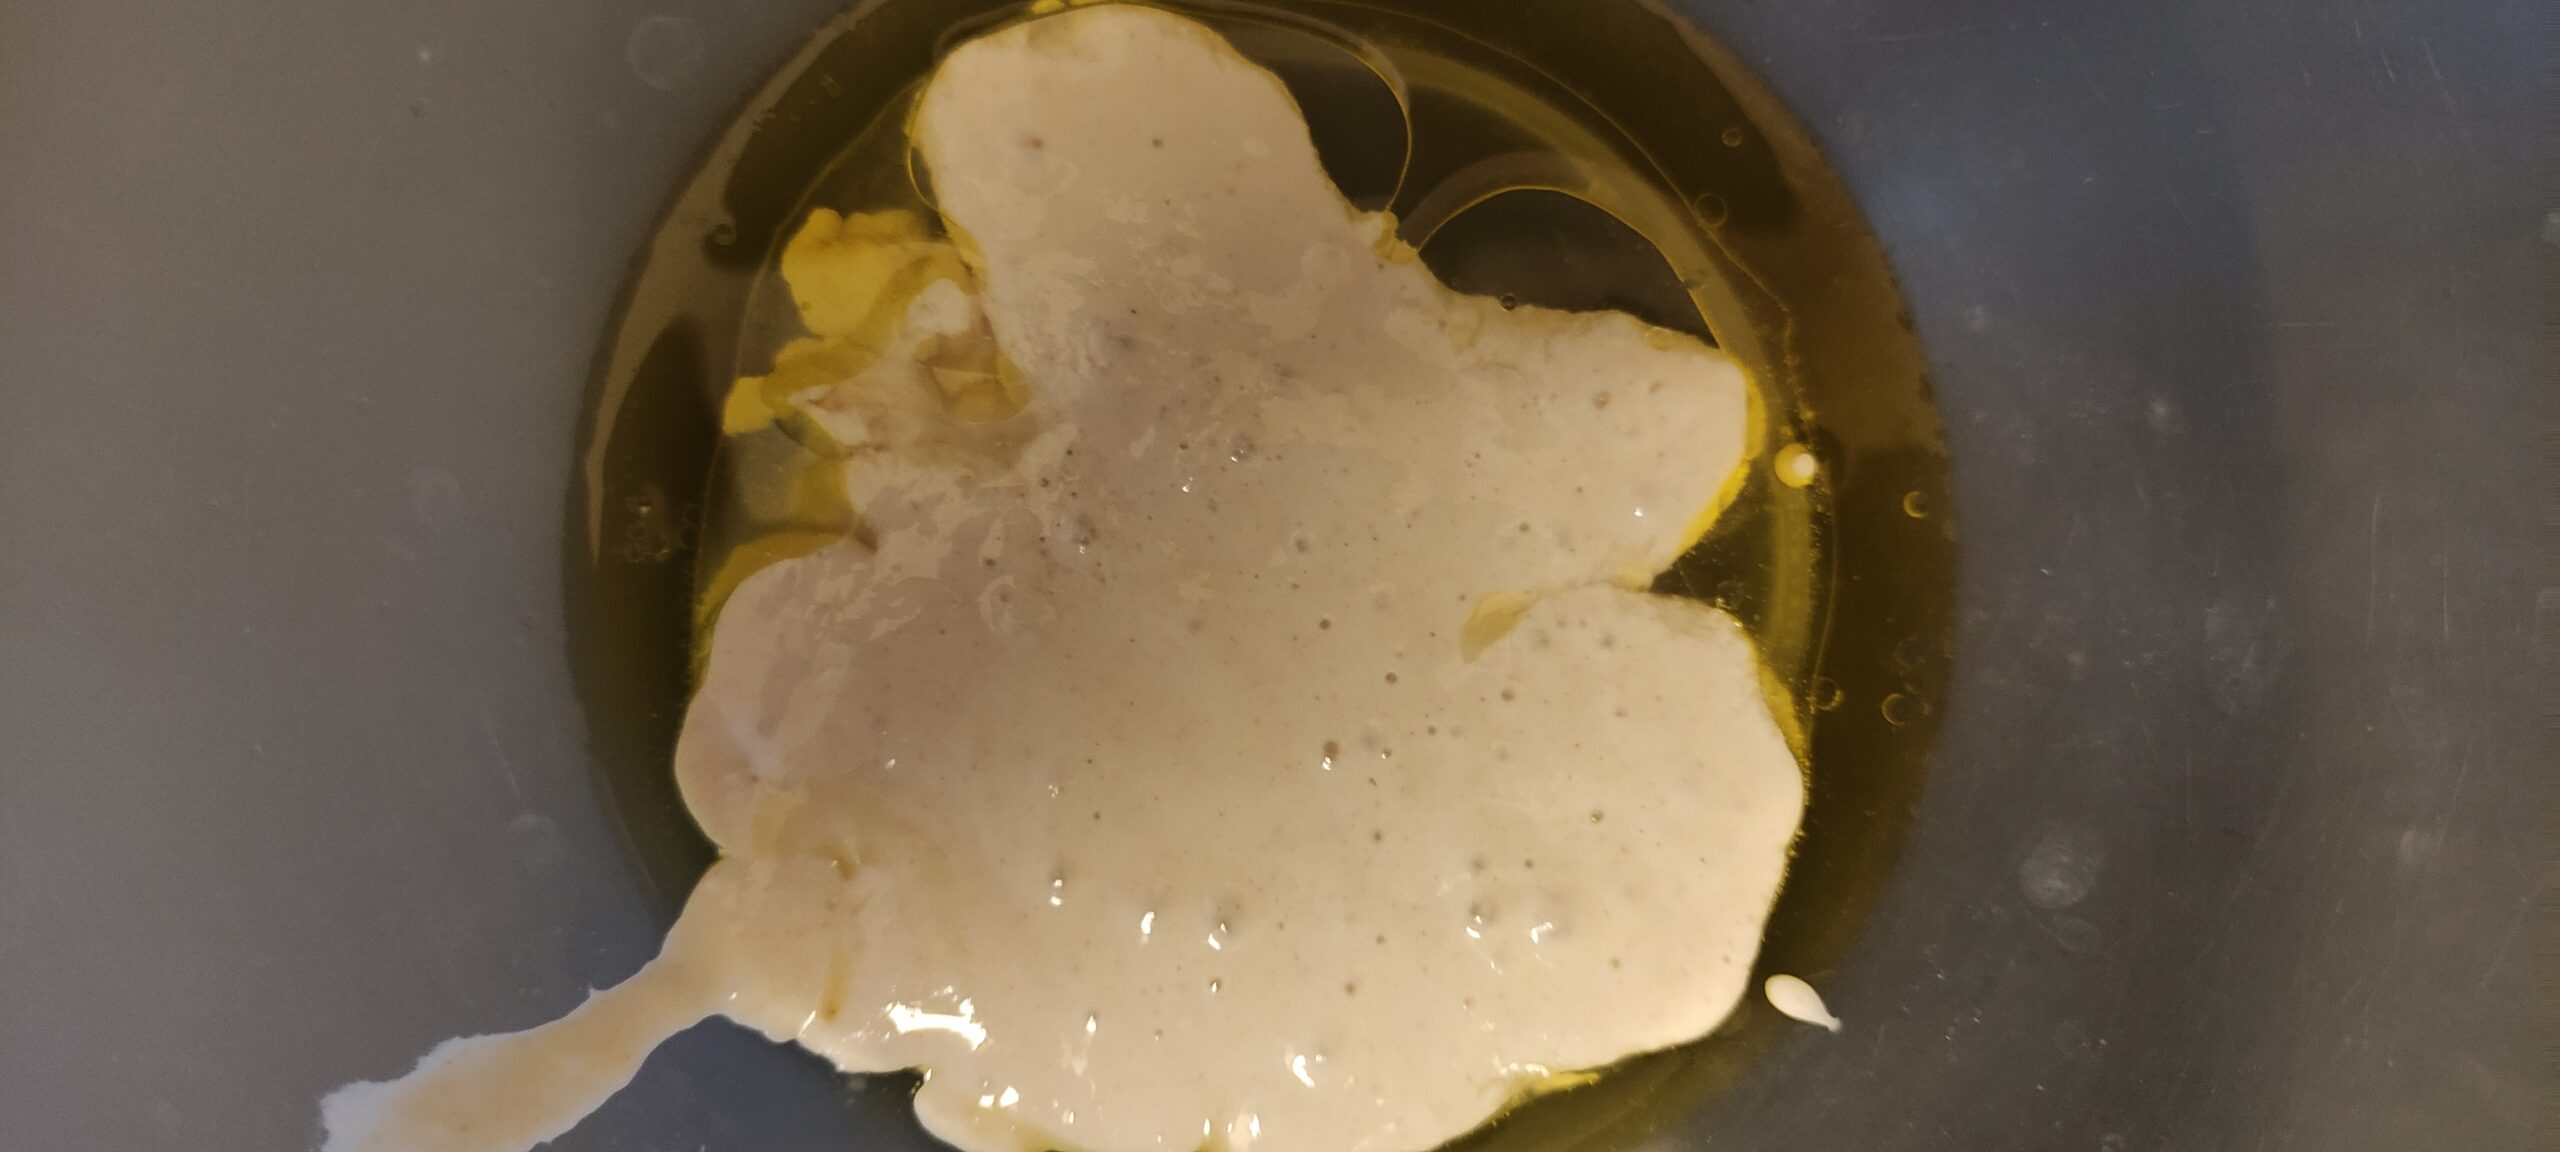
Weigh the water into a bowl and add the salt. Set it aside for a few minutes to give it a chance to dissolve.
Now weigh in the oil and then the discard and beat everything well with a fork.
2.
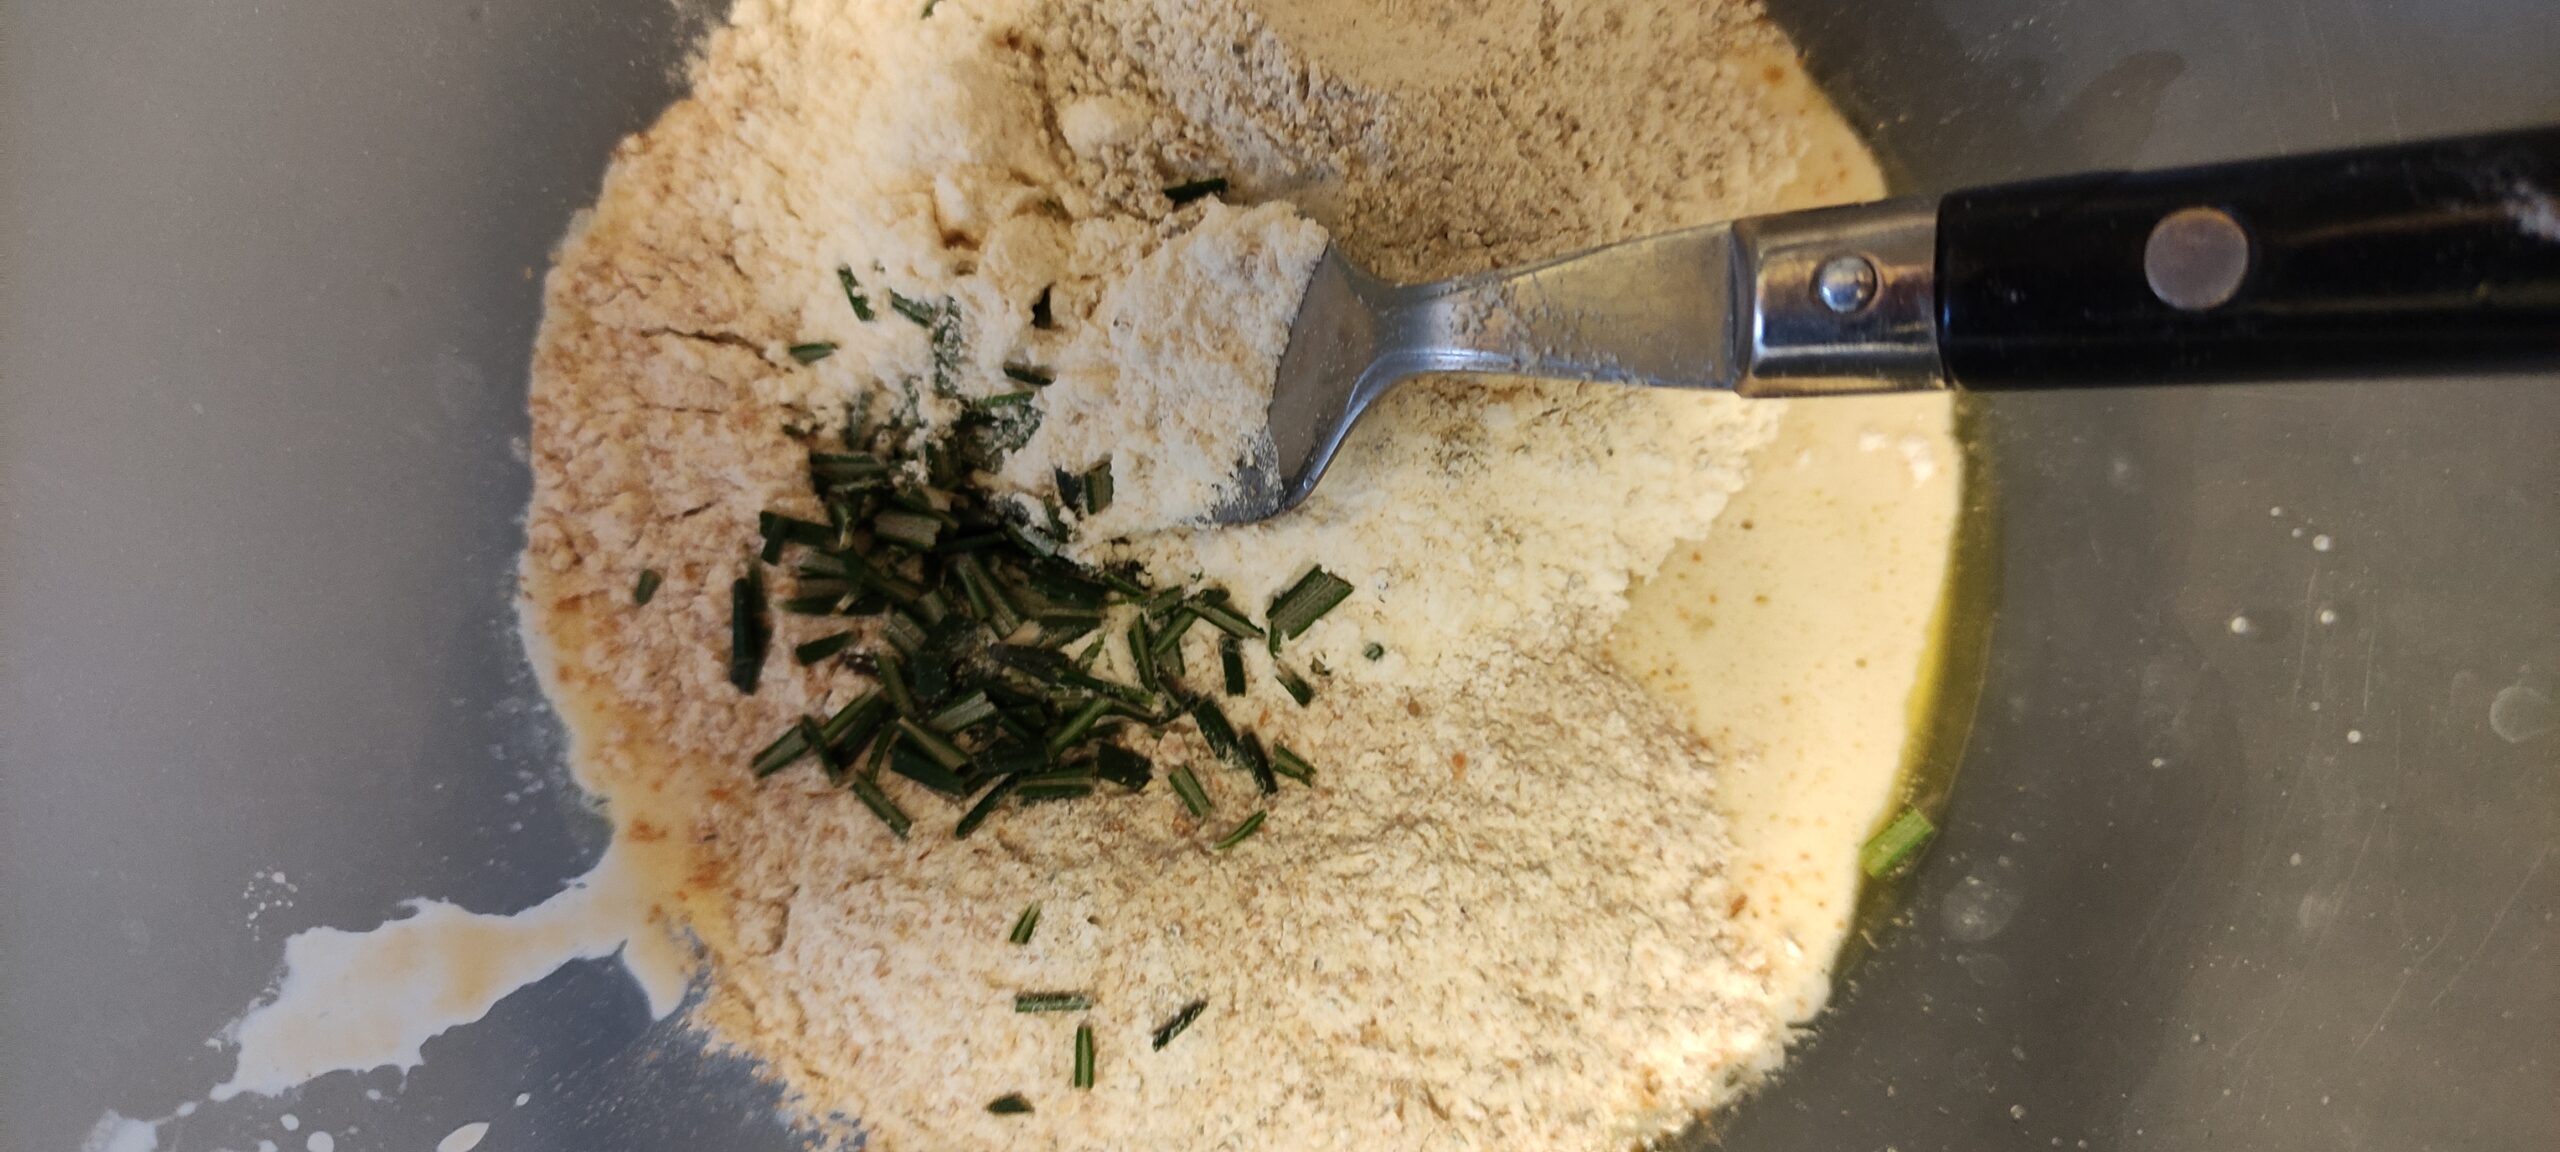
Now weigh in the flour(s) and the rosemary (or whatever flavourings you choose). Use the fork to combine them. Once they come together, use your fingers and fist to knead the dough - you can do this in the bowl. You only want to make sure that it's evenly mixed - you're not trying to knead bread.
3.
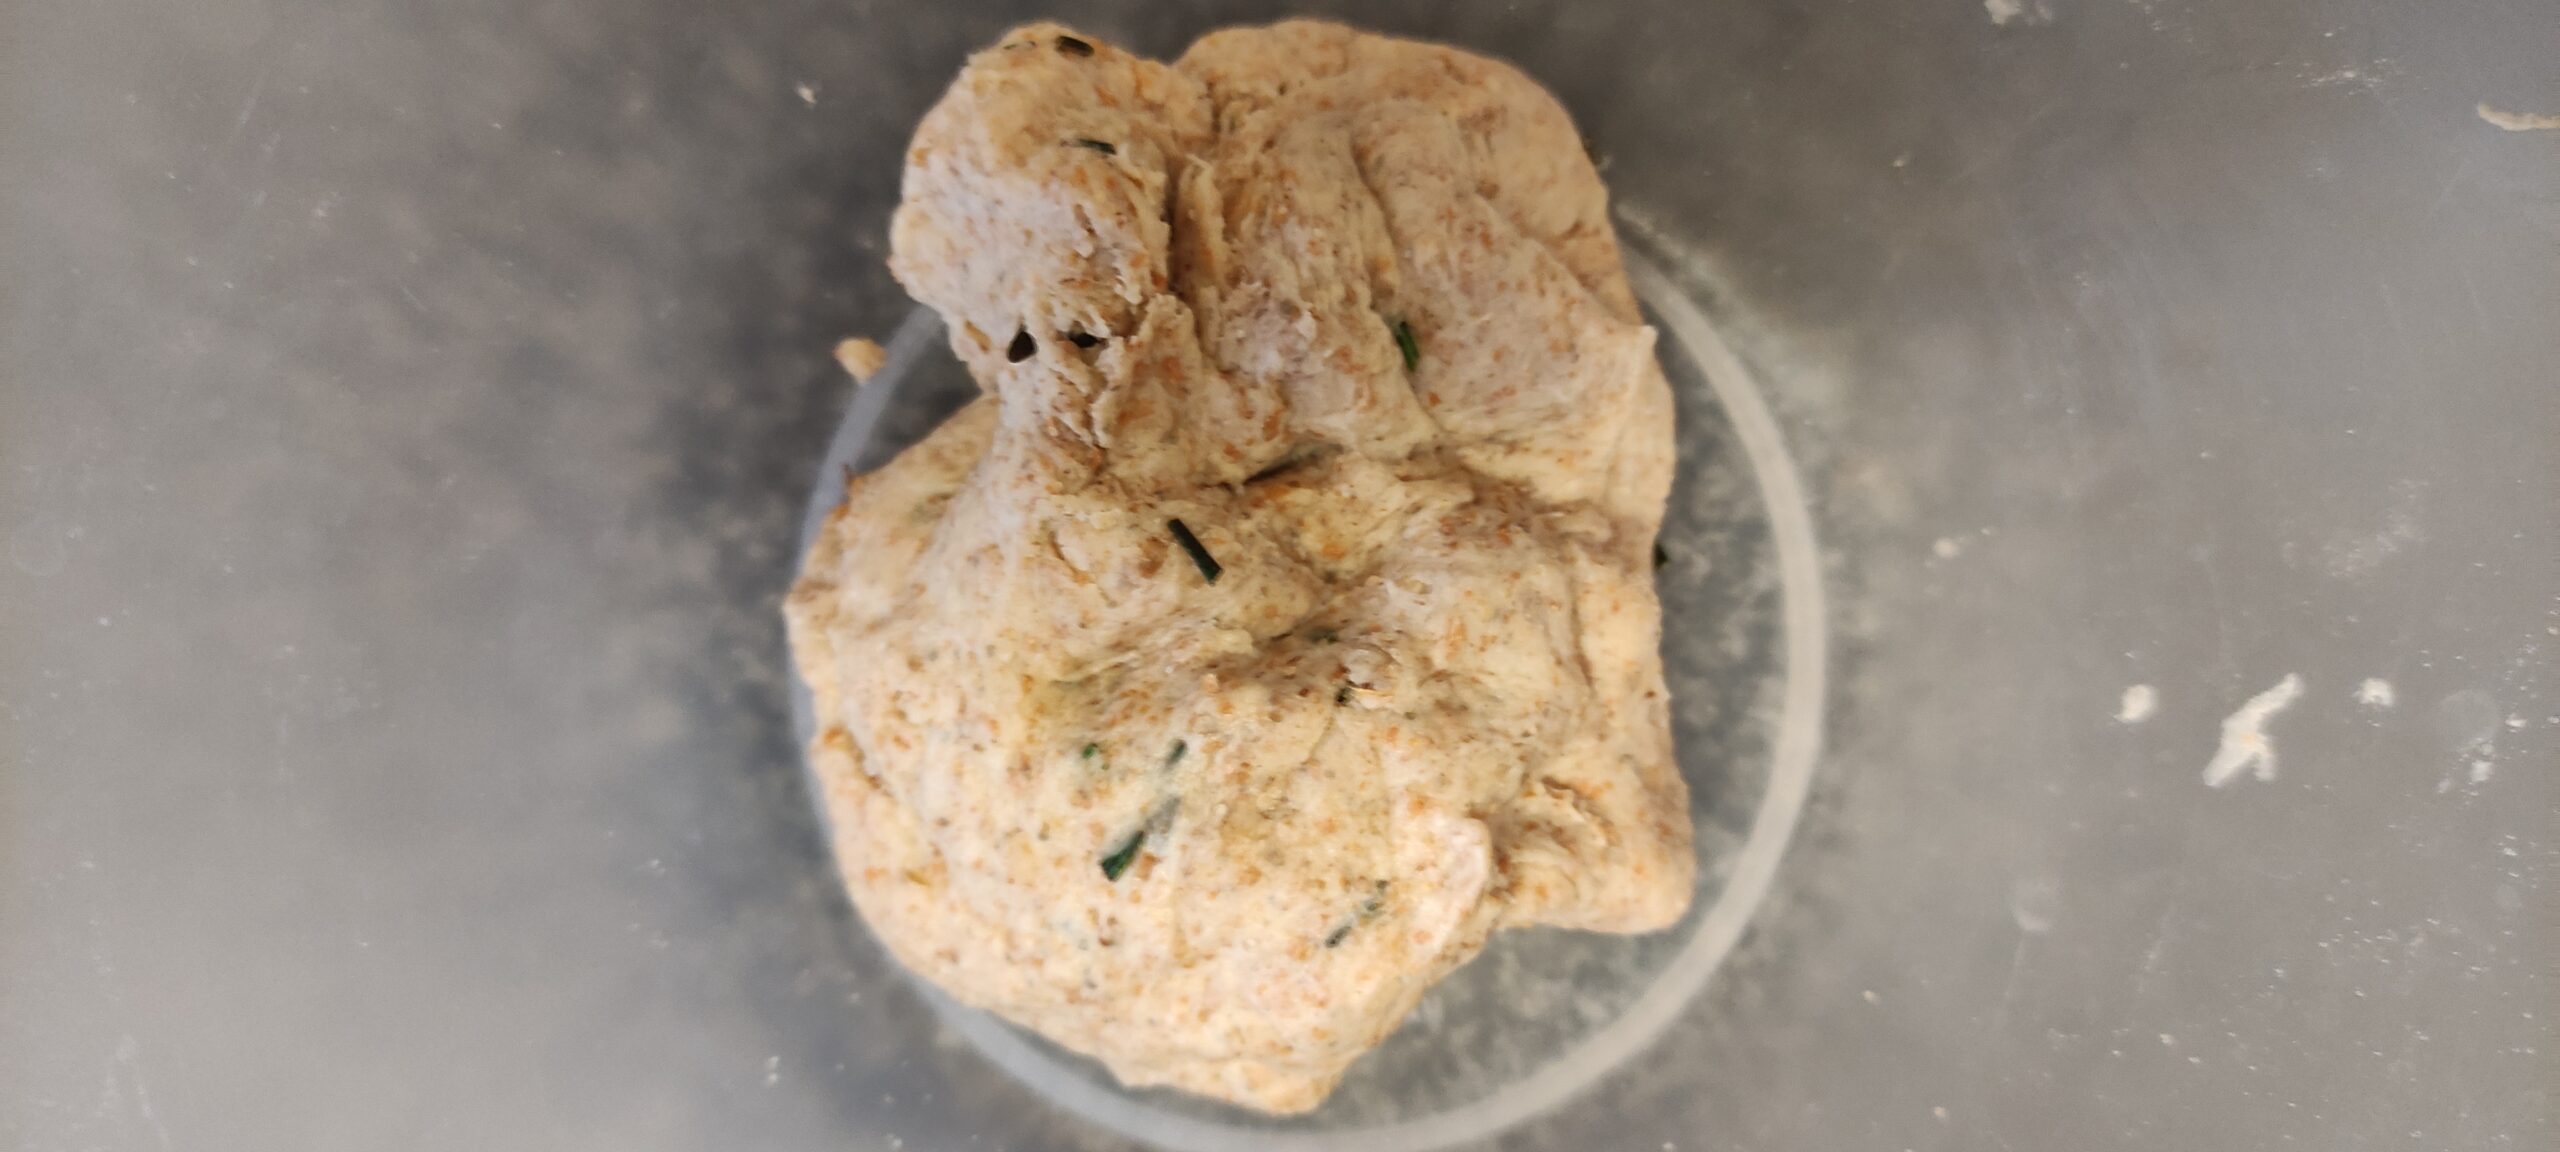
Wrap the dough in clingfilm and let it rest in the fridge for at least an hour (and no more than a day).
4.
Arrange two shelves in your oven with one half the way up, the other three-quarters. Preheat your oven to 180ºC.
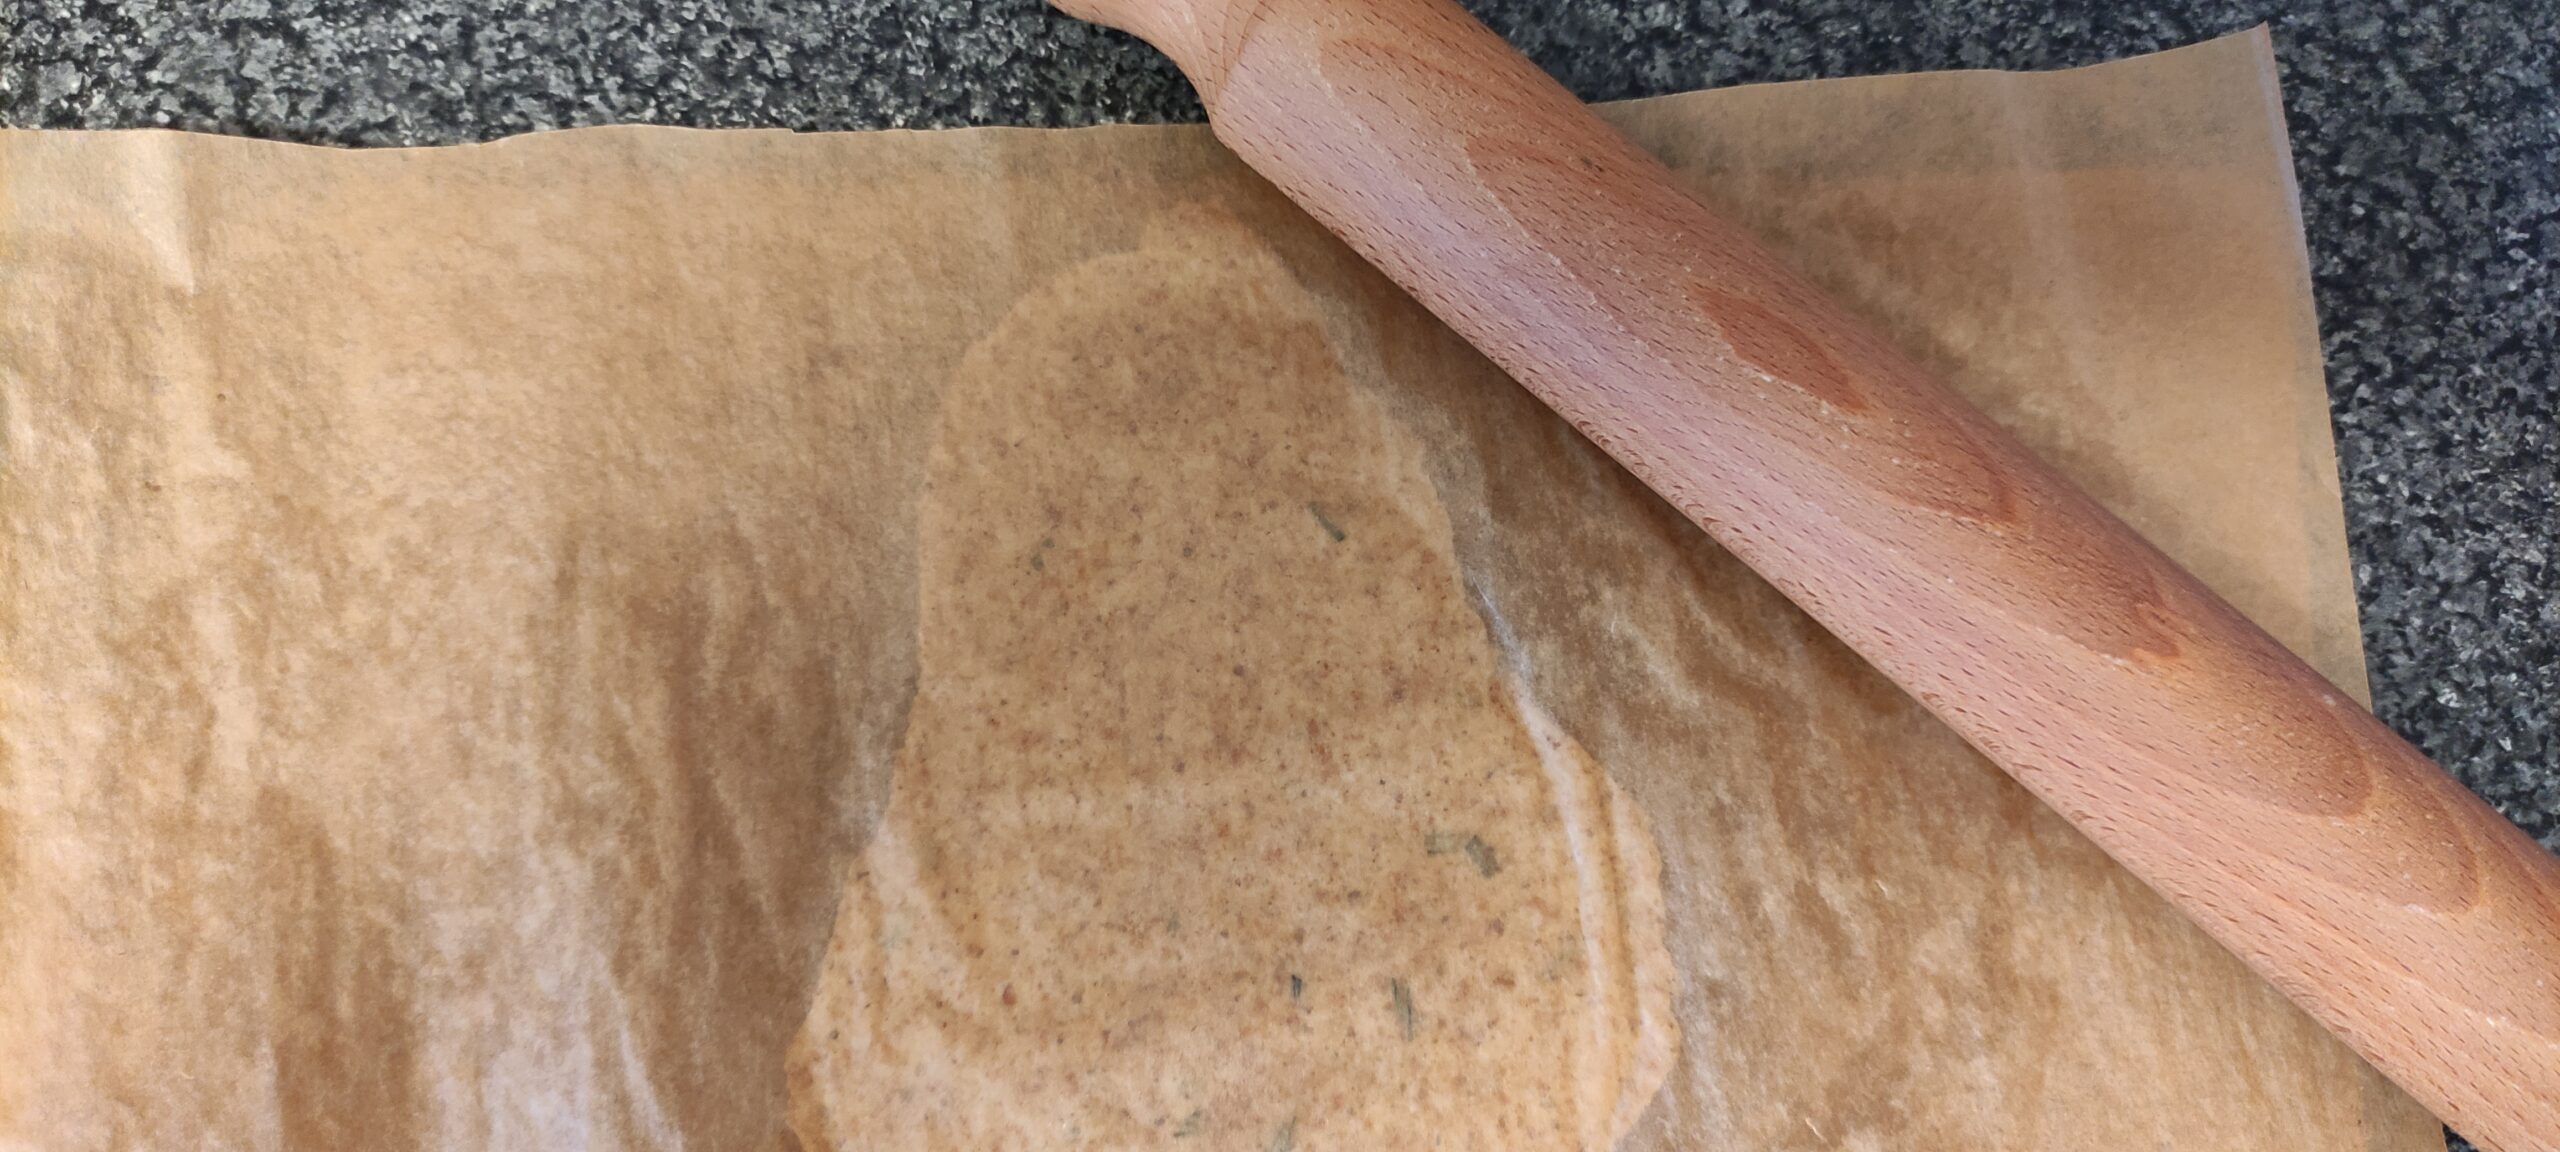
Cut the rested dough into four even pieces. Roll out one piece at a time between two sheets of non-stick baking paper. You'll know when it's the right thickness - it won't roll any further.
5.
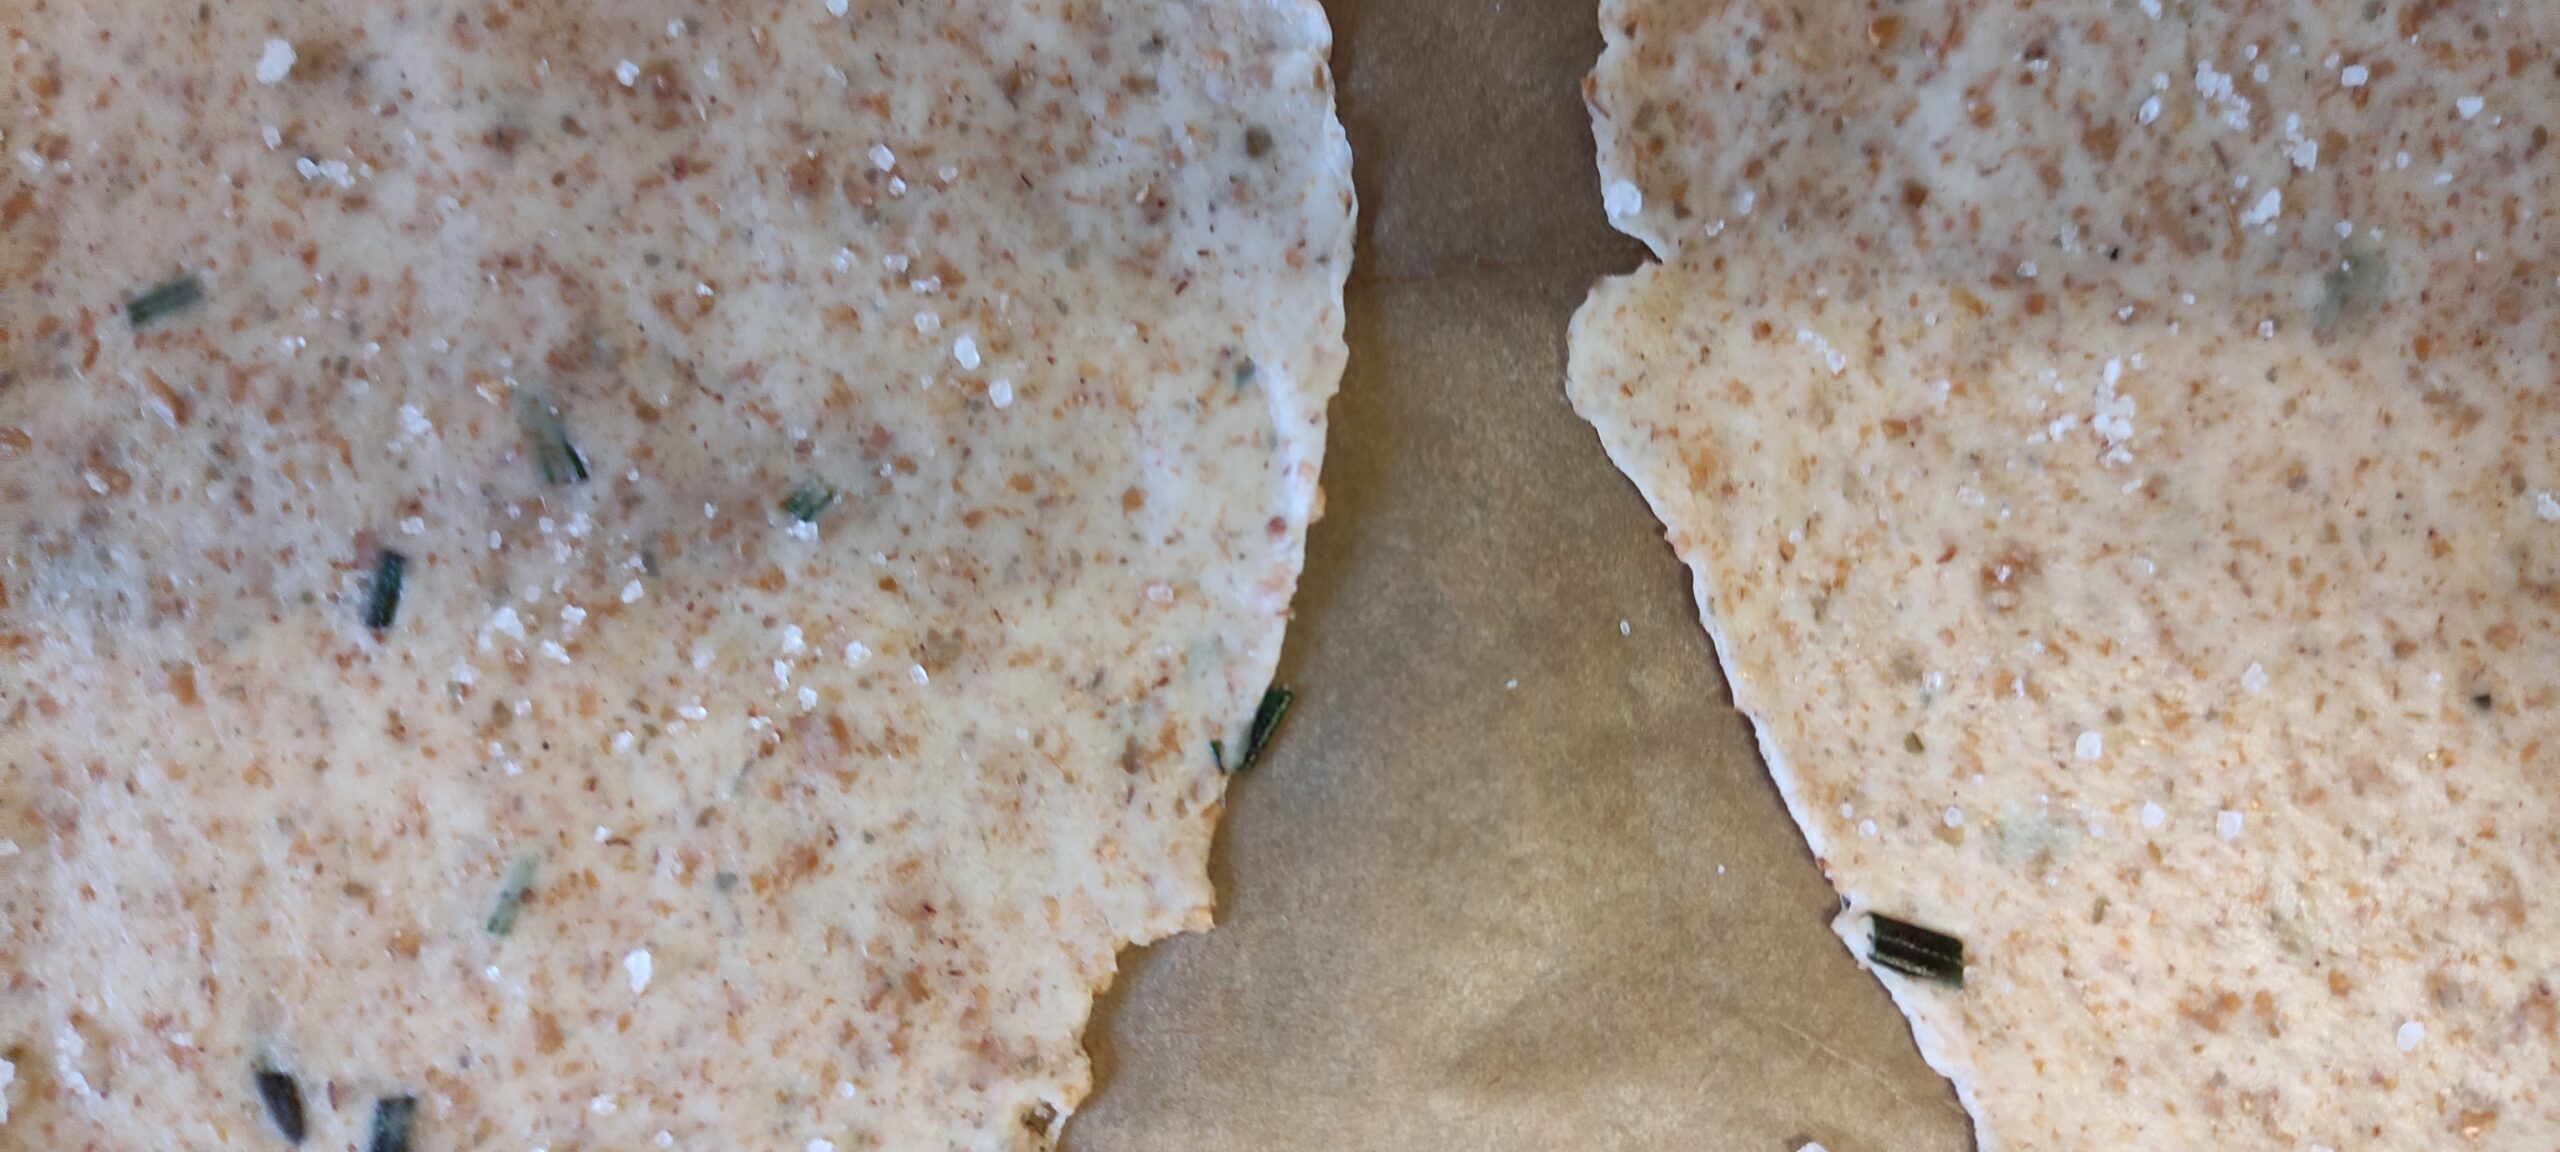
Carefully peel the dough from the paper and place it on a baking tray lined with fresh non-stick paper (you can reuse the paper you used for rolling out the next lot). Each large tray will hold two pieces.
When all four pieces have been rolled out, sprinkle them lightly with some coarsely ground sea salt and give them a very light spritz of water.
6.
Into the oven they go. At the 8-minute mark, swap the trays between shelves, reversing them as you pop them back in. Keep an eye on them.
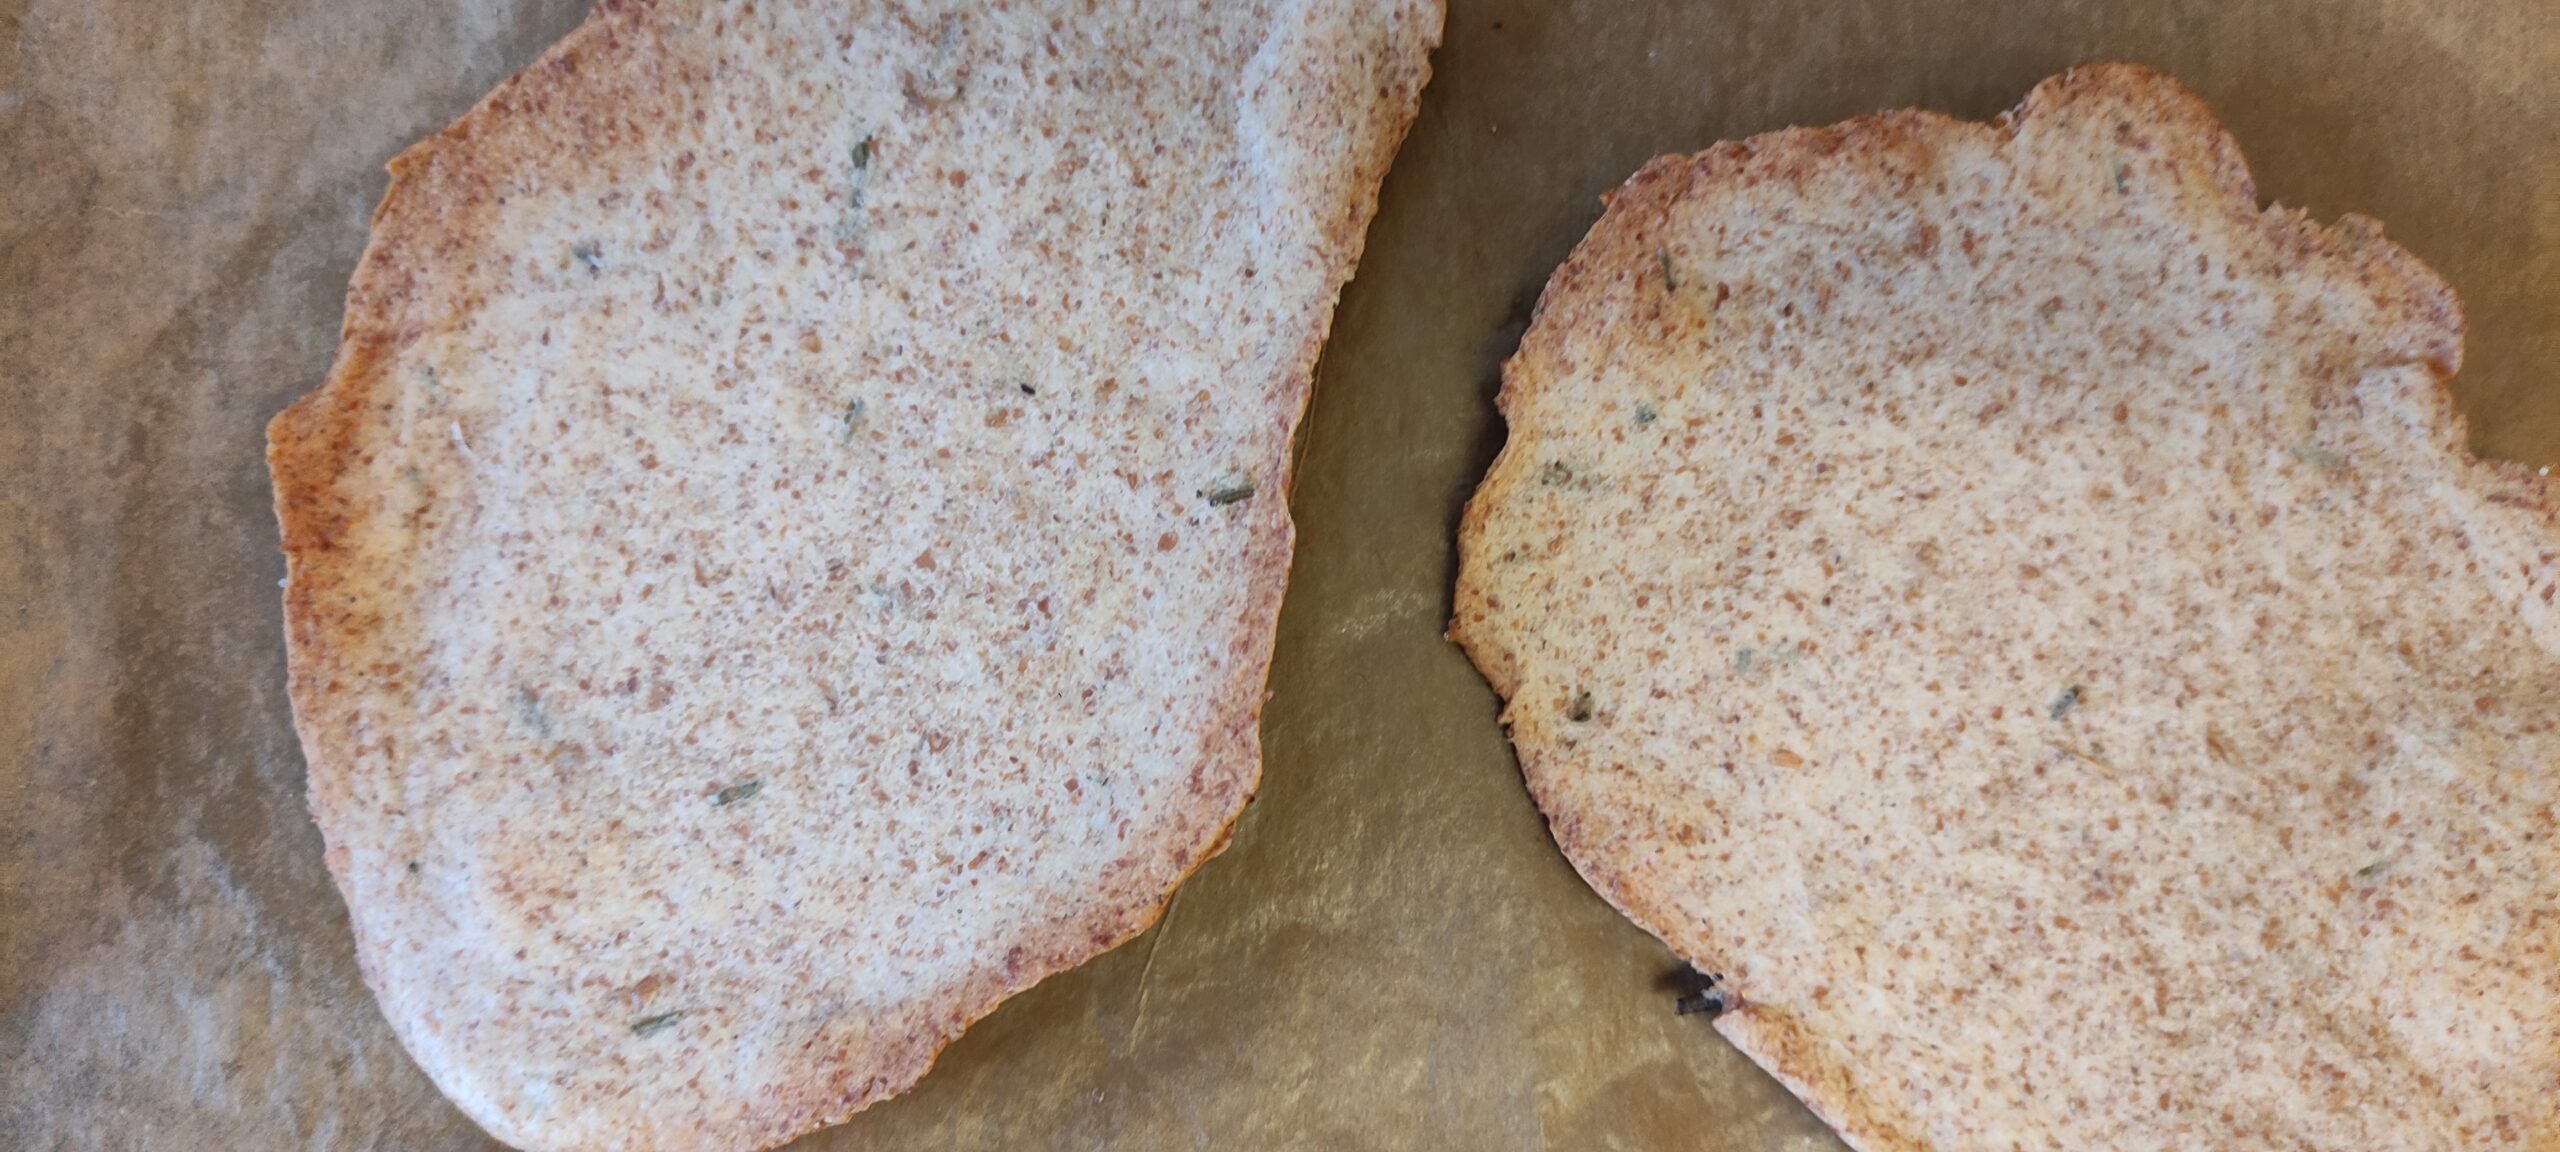
8 minutes later, reverse the trays again - this time turning the crackers over so the undersides get a look in - and give them a further 5 minutes. Reverse the trays again and give them a final 4 minutes. Check that both sides of the crackers are crisp with no hint of sogginess (cook for another 3 minutes, if that is the case, soggy side up).
Turn off the oven and leave them inside to cool.
6.
They may look overcooked but actually they're delicious!
Once they're fully cold, here comes the fun part - you get to break them into shards! Store in an airtight tin and use within a week. Enjoy!

FANCY A SOURDOUGH STARTER OF YOUR OWN?
If you don't possess a sourdough starter and you'd like to cultivate one, perhaps a friend has one, and will give you some and talk you through its care?
If not, there are plenty of blogs and YouTube videos to walk you through it. Too many perhaps. Here are my top tips:
Use stoneground wholemeal flour or rye initially to start your culture. Why? Weirdly the yeast in sourdough isn't some random yeast from your kitchen. It turns out it's one standard (and very robust) yeast that's present across the globe, which eventually fights off all other predators, and it much prefers these two types of flour.
You don't need to start with large quantities. 50g of flour to 50g of filtered water is fine. You'll be throwing half of it away each day once the bubbles start - to be replaced with 25g of flour and 25g of filtered water. NB: Don't use these discards for crackers; these may contain random yeasts from your kitchen.
Once your starter has been very active for a fortnight or so, you can slowly begin to change what you feed it, if you so wish. I replaced the wholemeal with strong white bread flour at 5g per day over the course of a week. I now feed it solely on white bread flour (and filtered water).
When your final starter that you've keeping at room temperature and feeding daily doubles its size each day and then collapses, it's ready to transfer to your fridge. Feed it and immediately put it in your fridge. It should still double its size and collapse, but now it will take about a week before it needs its next feed.
At this point you are probably still feeding it 1:1 (one part starter to half a part each of water and flour). This can be changed if your starter is peaking and then collapsing too soon in your fridge. For me, 20g of exhausted starter to 50g of water and flour respectively works brilliantly.
You should only use your starter for bread once it reaches its peak (it will almost treble in size if you bring it out of the fridge for a few hours). That's when it's at its most active. You should only feed your starter once it's exhausted and has collapsed back to almost its original size. What you throw away after the feeding is the discard used in this recipe.
Any questions? You can use the comments form at the bottom of the page.
Did you know?
You'll find recipes at the back of all the books in the Send for Octavius Guy series: